


Stand out in search results – add a bot to your search results! Part 1 – Knowledge Base
This could be the next big thing in SEO – bot interactions from the search result page. Users can get their questions answered quickly or get common tasks done, without even needing to leave the search results and visit your site! The best thing is you don’t even need to be a programmer with my step-by-step guide to making your own search engine bot!
In this three part series we’re going to go through a worked example for me to create a bot for my website: thoughtstuff.co.uk. In Part 1 we’re going to create a knowledge base of questions which users can ask. In Part 2 we’ll create the bot which will take those questions and return answers. In Part 3 we’ll configure the bot to show alongside webpage results.
Step 1 – Create an account with QnA Maker
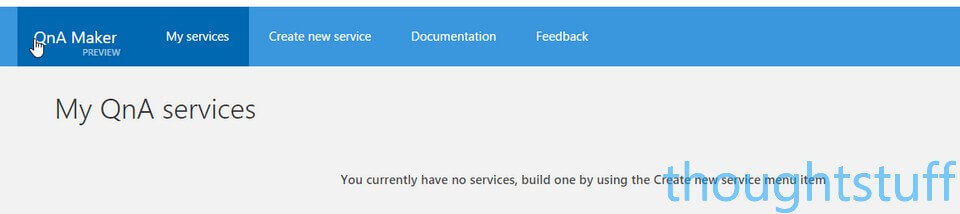
For this we’re going to be using QnA Maker, a Bot Framework service offered by Microsoft. It allows you to quickly create a bot that can answer questions. Go to https://qnamaker.ai and Sign In or Register. Once you’ve done that, click My services. If you’ve never done this before you’ll see this, telling you that you don’t yet have any instances:
Click “Create new service” to get started. Give your service a name. If you already have a website FAQ, then enter it in the company FAQ page section. This will save you time as the service can “read” your FAQ and build up question-answer pairs automatically. If you don’t have one don’t worry, you can ignore it. I’m not going to specify one here, I’m just going to click Create.
Assuming you didn’t specify a FAQ you’ll then see a Knowledge Base dashboard that’s empty save for a single entry – “hi”:

(if you did specify a FAQ URL then you’ll see a lot more entries in here, which you can check and edit)
Step 2 – Populate Questions & Answers
Now it’s time to think about what sort of things users might ask and provide good answers for them. You don’t have to worry about how exactly users will phrase the questions (the bot takes care of that), it’s more about loading as much information into the system as possible. Here’s what my dashboard looks like after spending some time filling it out:
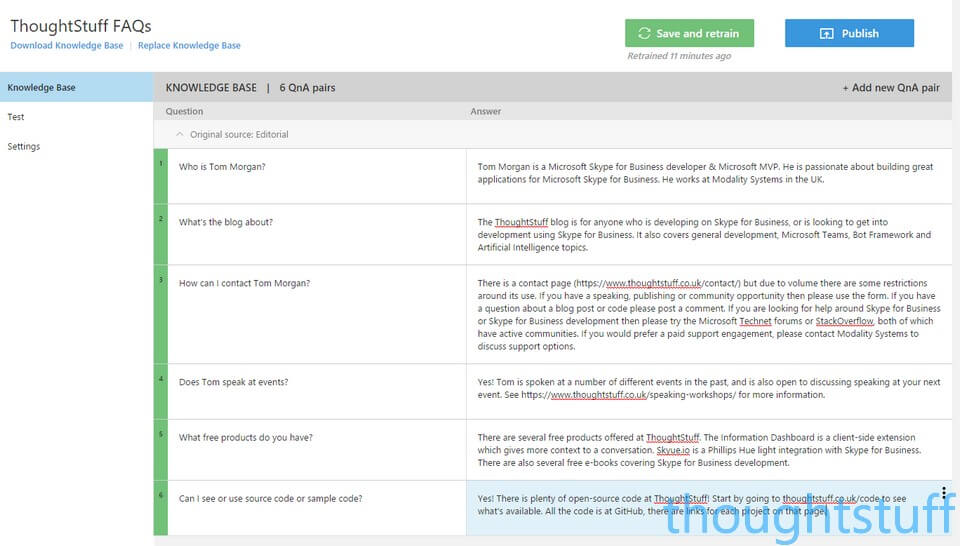
There’s probably a lot more that could go here. The good thing is that you can always come back here and add more entries, edit these entries etc.
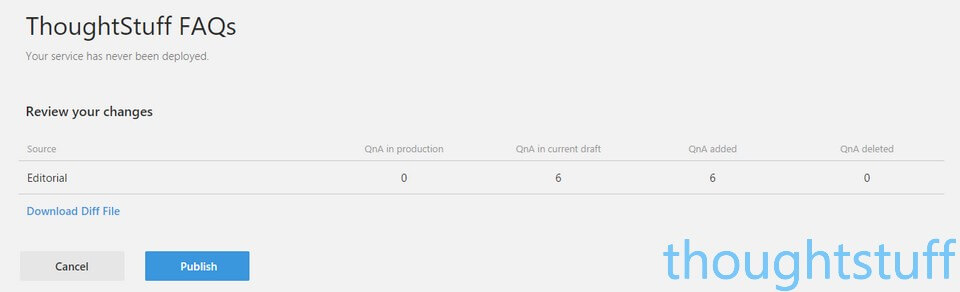
Once you’ve created your question/answer pairs, click the large blue Publish button at the top right. Review the number of changes / additions you have made, and if you’re happy click the Publish button:
If everything goes to plan, you should see a Success message with some information about your bot:
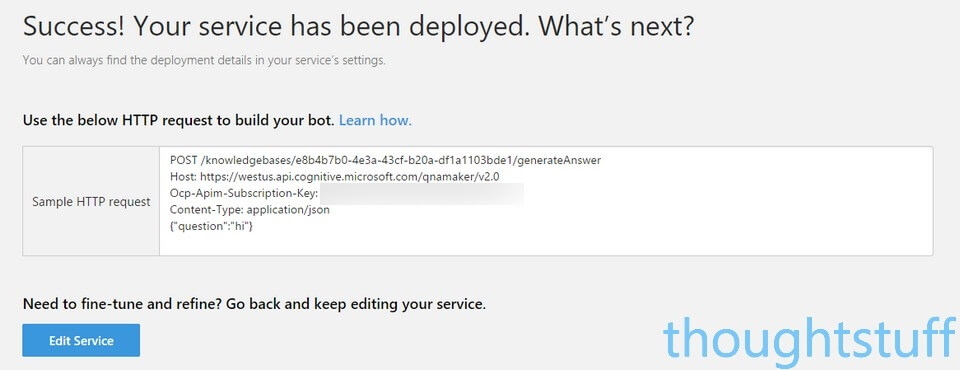
At this point we have a knowledge base of useful information which we have seeded. In Part 2 we’ll look at how we create a bot to take questions from users and provide answers based on this knowledge base.
Now read: Stand out in search: add a bot to your search results! Part 2 – The Bot
Written by Tom Morgan
 Tom is a Microsoft Teams Platform developer and Microsoft MVP who has been blogging for over a decade. Find out more.
