


Creating a Microsoft Teams IVR Bot Part 1 – Registration and Security
This is the first of a series of blog posts which are designed to introduce you to IVR Bots in Microsoft Teams. IVR Bots are bots that user can place audio calls to and communicate with via their keypads. They open up a whole new world of different app possibilities, and they’re pretty easy to build too!
IVR Bots are made possible with the release (in Preview) of the Calls & Meeting API, announced at Ignite 2018. There are a number of steps to follow in order to create and configure your bot, as well as some code to write to get it to do what you want it to. For links to all the posts in the series (and a video showing an IVR bot in action) have a look at the post: Creating a Microsoft Teams IVR Bot – a 5 part series.
Bot Registration
In the UCMA world, you needed to create an Application and an Application Endpoint – something which represented your bot within the Skype for Business environment. With the Calls & Meeting API, it’s not much different. You still need to register your bot and obtain some identifier which your code can use when running to tell the system that it is the code for this bot.
Rather than re-inventing the wheel, the Calls & Meeting API Team decided to reuse an existing, well-known construct – Azure Active Directory Apps.
These types of apps are managed via Azure (so admins gain good visibility of them) and secured using permissions that are approved by Azure AD admins. This same model is reused across Office 365 for other applications and services, so using it for Teams bots makes sense.
To get started with a new registration, you could create your Azure AD entry directly at https://apps.dev.microsoft.com – but there are some additional setup steps which need to happen to make an application a Teams Bot application. So, instead we’re going to create a Bot Channel Registration object in Azure first, and then come back and see our application listed.
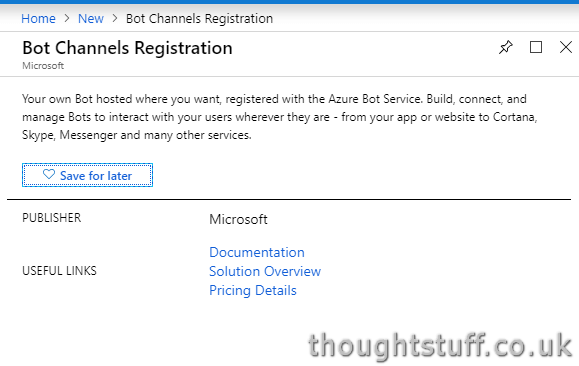
Go to the Azure Portal, click New and search for Bot Channels Registration. That’s the name given to the Azure entity that represents a Bot:
You can fill out the Name, Resource Group, Pricing Tier and Location without any help from me. Leave the Messaging Endpoint blank for now (we’ll come back to this). Right at the bottom though, notice there’s a section about a Microsoft App ID and Password. This is the Azure AD App reference I mentioned earlier.
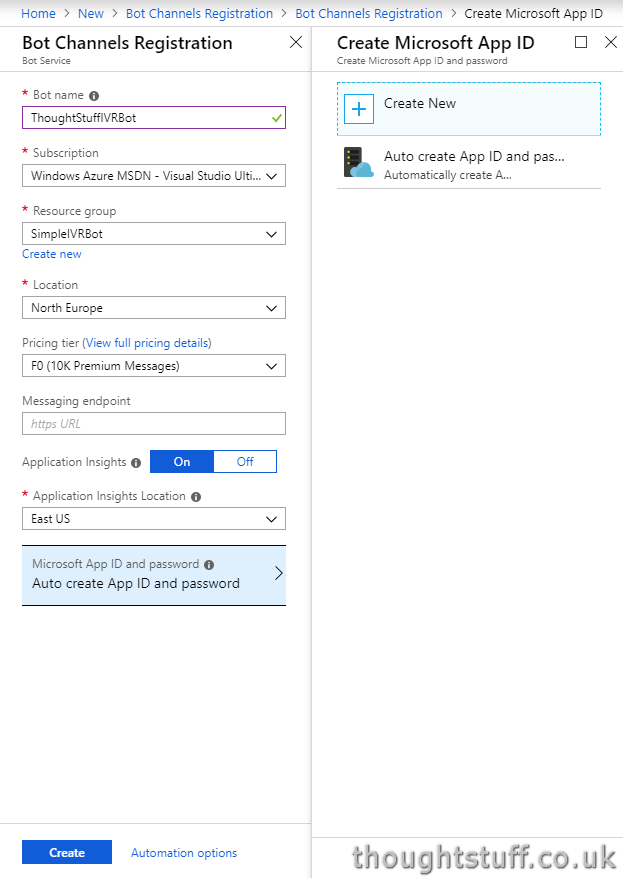
Make sure that ‘Auto create App ID and Password” is selected, and then click Create.
This will now do two things. Firstly, it will create a new Azure AD Application for our Bot to represent it in Azure AD. Secondly, it will create an Azure object tied to that Azure AD Application.
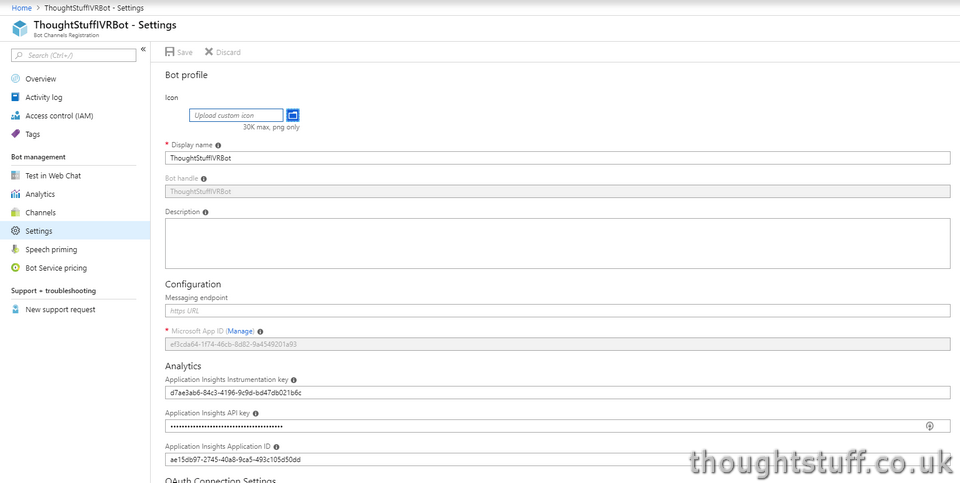
Once your Bot has been created in Azure, go to it in the Portal, then click Settings. Halfway down, you’ll see a Microsoft App ID greyed out, and a link to Manage.
Setting Up Security
Clicking Manage will take you out of Azure and into the Azure AD Apps site – notice the URL has changed to apps.dev.microsoft.com. This is where you will fine tune your the finer points of security for your Bot – such as creating a secret key and setting up permissions:
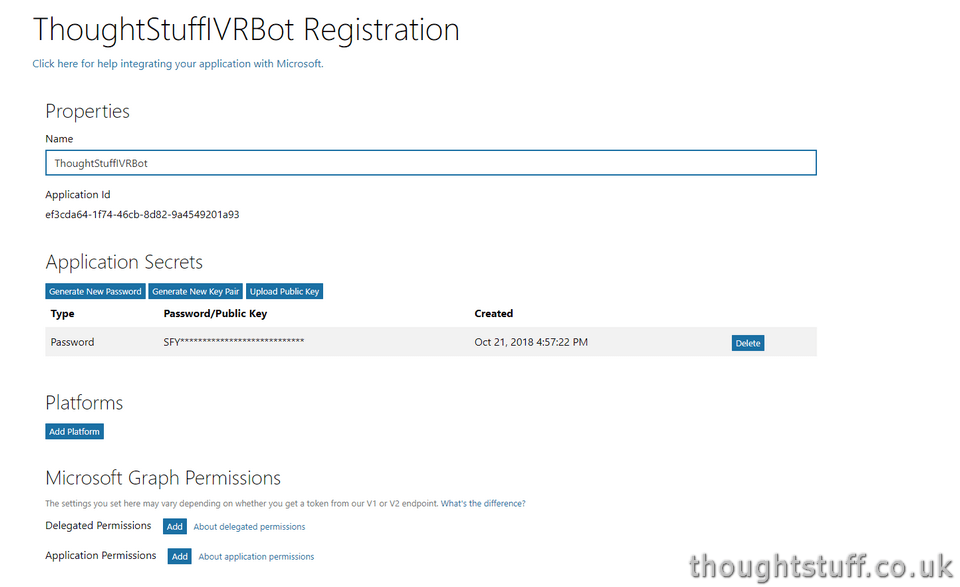
In order for your Bot code to run, you need to provide it with both the App ID and the Password. The App ID is clearly visible on the screen, but what about the Password. It was generated for us when the Bot Channels Registration in Azure was created, but we were never shown it. There’s now no way for us to see it, so we might as well delete the Password and generate a new one, by clicking Generate New Password:
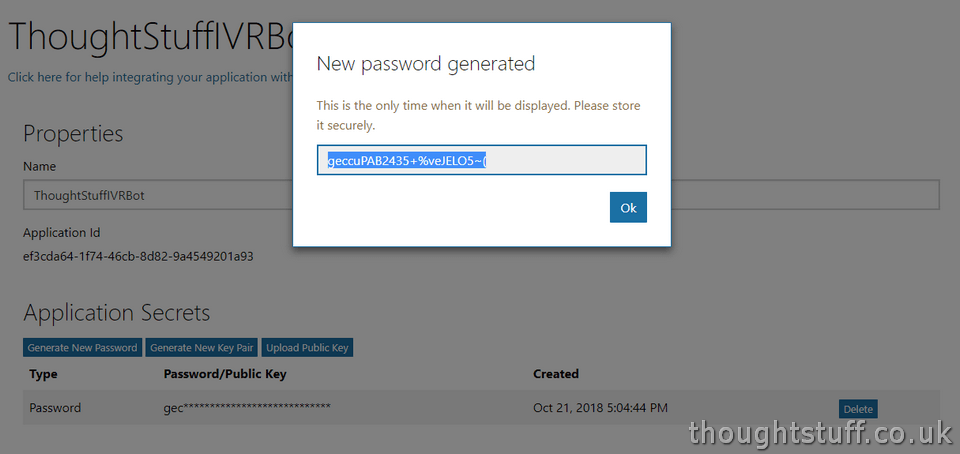
Make a note of the password now, as you’ll need it later. Also, make a note of the Application ID.
Permissions
Scroll down to the section titled Microsoft Graph Permissions. This is where we will define the permissions our bot has, which dictate the things it can do.
Click the Add button next to Application Permissions and choose the following permissions, which are required to operate an IVR bot:
Calls.AccessMedia.All
These permissions need to be approved by a tenant administrator. This isn’t an entirely straightforward process, but it involves an administrator navigating to a specific URL and then approving the app permissions. It’s designed around access to websites, so there are some changes we need to make for this flow to work for us.
We need to provide a reply URL to our application – this is the URL that the admin will go to after they have approved the permissions. For security, this URL has to be specific ahead of time. This isn’t mentioned on the Bot Registration page, but we can still set it by going to the bottom and clicking Edit Application Manifest to open the Manifest Editor:
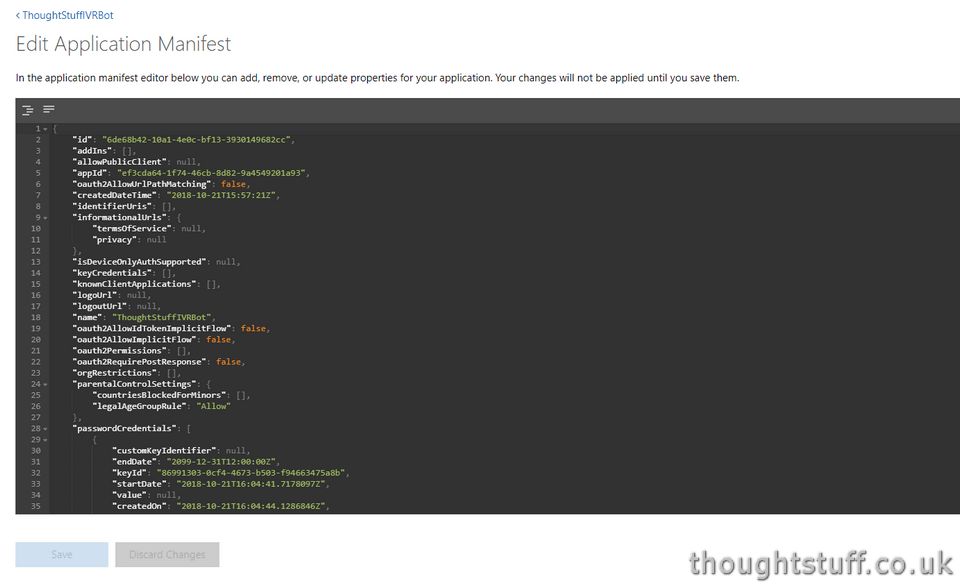
Scroll down until you find the replyUrls entry. Add to this any URL (I’m going to use localhost – it doesn’t have to be a real URL as we’re not going to show it to anyone):
“replyUrls”: [
“http://localhost”
],
Save the Manifest.
To actually grant the permissions, construct an authorisation URL, which looks like this:
https://login.microsoftonline.com/common/oauth2/authorize?response_type=code&client_id=YOUR_APP_ID_HERE&redirect_uri=http://localhost&prompt=admin_consent
Add your app ID as the client_id parameter, and adjust the redirect_uri if you chose a different reply URL.
Navigate to that URL and log in as a tenant administrator. You should see the following prompt:
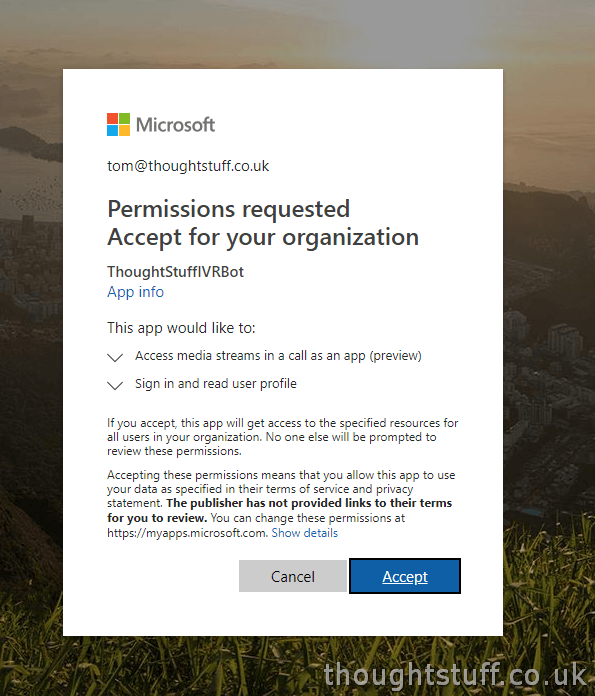
Once you click Accept, you’ll be taken to the reply URL – so likely won’t load correctly if you’ve used localhost. However, look at the full URL – if you see a parameter ?code= with a long value associated with it, then you’ll know it’s worked. [this is the oAuth gant token you could use if you were building a website]. If you see anything else then look at the URL carefully as the actual error will be displayed within it (though you might need to URL Decode it)
At this point, you’ve registered your bot with Azure and the Bot Framework and your bot has all the permissions needed to do its job. You’re all set for the next blog post in the series, which goes into the detail of the code you’ll write to bring your bot to life.
Written by Tom Morgan
 Tom is a Microsoft Teams Platform developer and Microsoft MVP who has been blogging for over a decade. Find out more.
Related posts:
 Creating a Microsoft Teams IVR Bot – a 5 part series
Slides from “15 mins of code – Creating a Teams IVR Bot”
Developing with Microsoft Teams: Creating Static Tabs
Teams Dev Project: Expose existing LOB apps in Teams for users to share easily with Compose Extensions
Creating a Microsoft Teams IVR Bot – a 5 part series
Slides from “15 mins of code – Creating a Teams IVR Bot”
Developing with Microsoft Teams: Creating Static Tabs
Teams Dev Project: Expose existing LOB apps in Teams for users to share easily with Compose Extensions
 Microsoft announced they will launch WhoBot for Microsoft Teams, your new company assistant