


Ubiquiti UniFi AC In-Wall: first look
This isn’t a post about Skype for Business, Microsoft Teams or development. It’s part of a set of blog posts I’m going to be doing about the Ubiquiti Unify mesh WiFi system.
Introduction
When it comes to networking, I’m a hobbyist, not a professional. I like to think I know basic good practice, I can set things up and look after them, but I’d have trouble explaining exactly the difference between ac/n/g, and I’m put off ordering SFP cables because it all seems too complicated.
However, I like technology and I like to fiddle with things. That’s what led me to decide to replace my home WiFi with the Ubiquiti Unify system. I’m going to publish a separate blog post about that soon, but leading up to that I’ve been taking a look at the individual components as I’m getting them out of their boxes.
When it comes to projects like home renovation, building things, or rewiring networks, I’m a planner. I like to know what’s going to happen so that I can do research. Part of the fun of doing it is reading all the reviews, making choices about what to buy, trying to future-proof yourself etc. It took us nearly 3 months to buy a TV because I insisted on understanding how the model numbering system for the brand we wanted to buy worked so that I could more easily compare models as we saw them. Â Whilst I was planning things for my new Unify network I had some questions that I couldn’t easily find answers to. What I really wanted was a video of someone opening the box and going through all the parts. When I didn’t find that video I decided to make my own. That’s what these videos are.
Ubiquiti UniFi AC In-Wall (UAPâACâIW)

This video is for the Ubiquiti UniFi AC In-Wall. It’s designed to mount on a wall and give WiFi to a room. This unit in particular gave me a lot of questions before I could play with one, because I wanted to prepare the wall before it arrived. The wall was being decorated so I had to make the right holes in it ahead of time. That’s hard when you don’t know what the mounting looks like, whether a suitable mount for your country is even included, and how it all works. Hopefully, if you’re in that situation then this video will help you.
Note that there are two in-wall models that Ubiquiti sell. The one with the two ports on the front is the older model, and doesn’t do 5G. With this model there are still two ports, they’re on the bottom. (watch the video)
Installation
Because I wasn’t fitting this to an existing Ethernet jack, and because UK walls are made of brick I didn’t really fancy knocking out an entire back-box to mount this onto. Instead I decided to just cut out enough wall for the protrusion that the unit makes into the wall, and then fix the mounting plate flush to the wall.
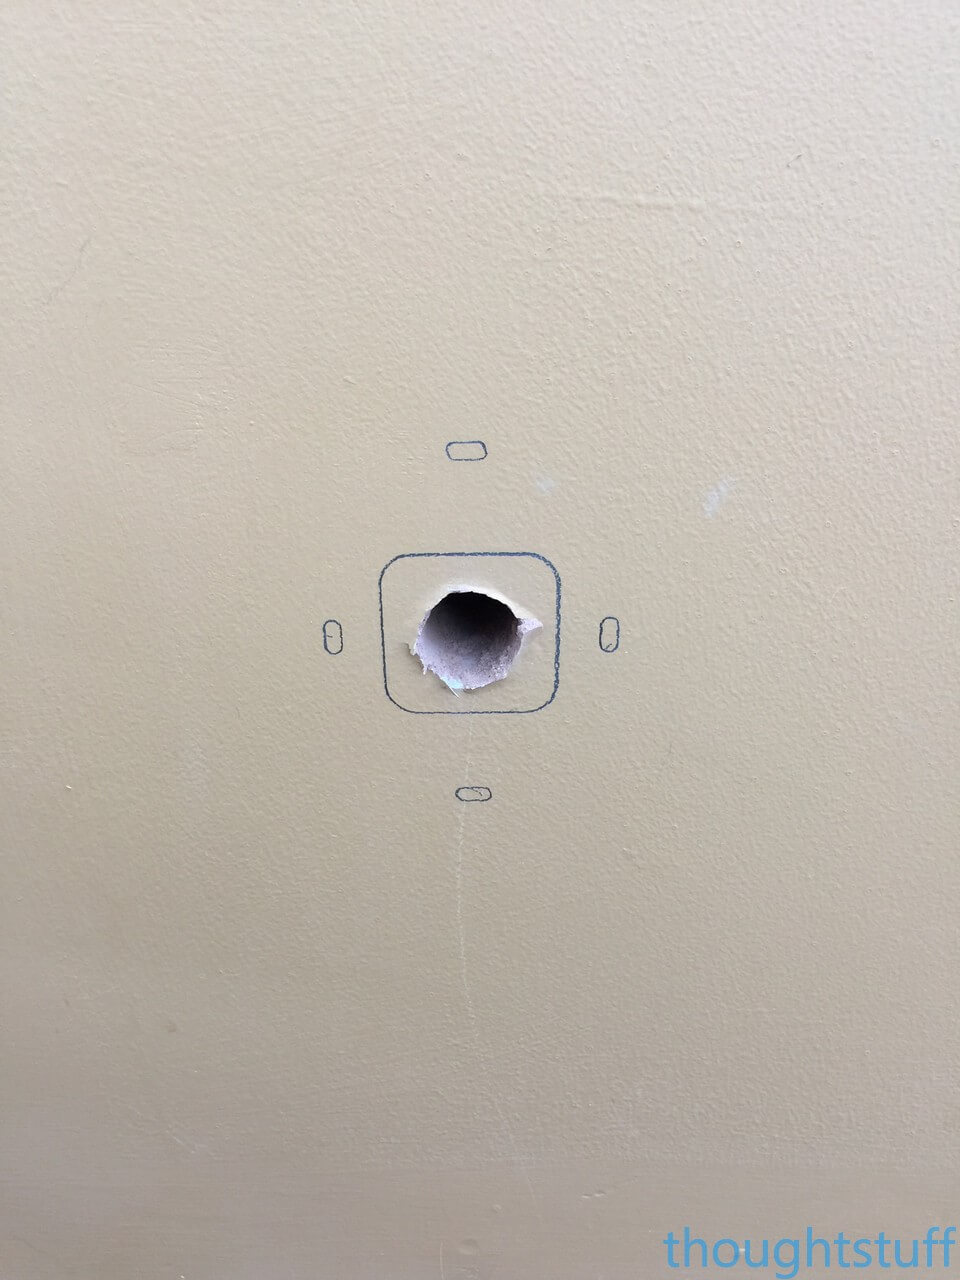
I started by drilling the cable hole and feeding that through. Then I used the mounting plate with the hole in the centre of the middle part to draw out where I needed to drill holes, and also the middle square:
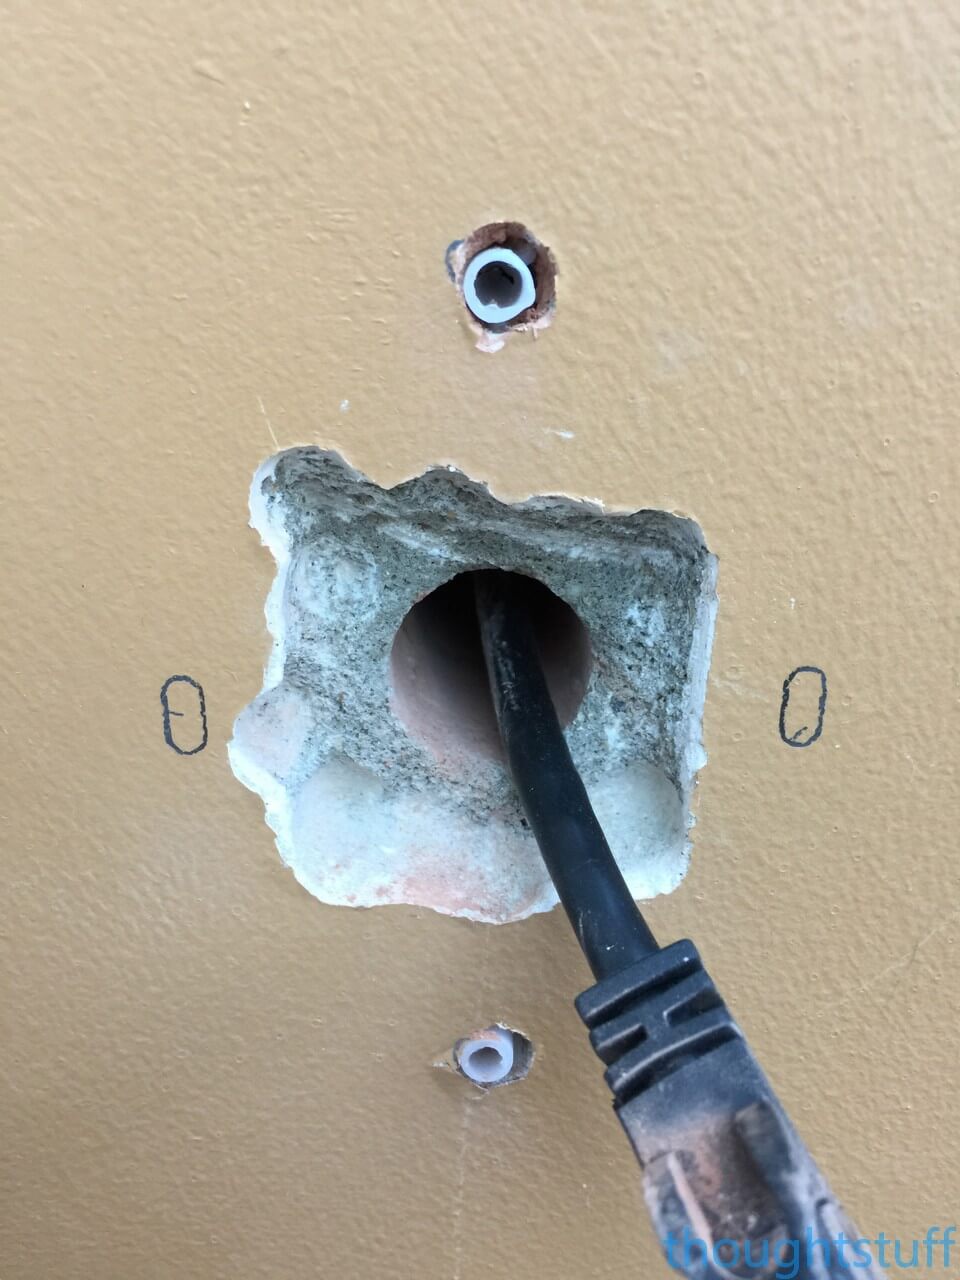
Then it was just a case of chiselling out the centre square, going deep enough so that the unit would fit flush. I used the unit to check – just by trying to hold it up flush to the wall will tell you if you’ve cut out enough wall:
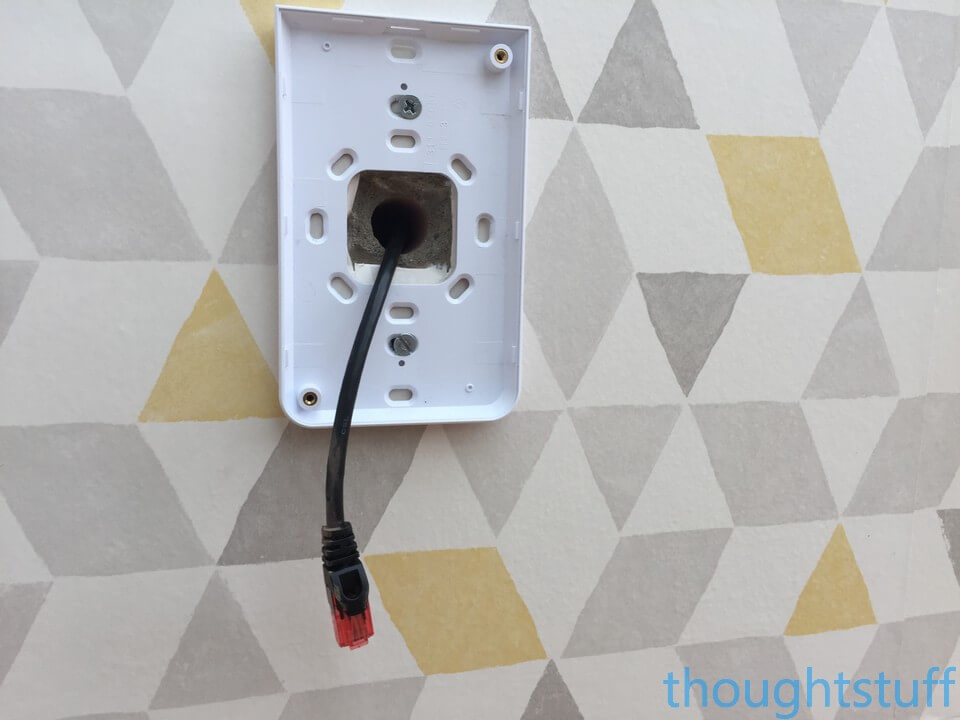
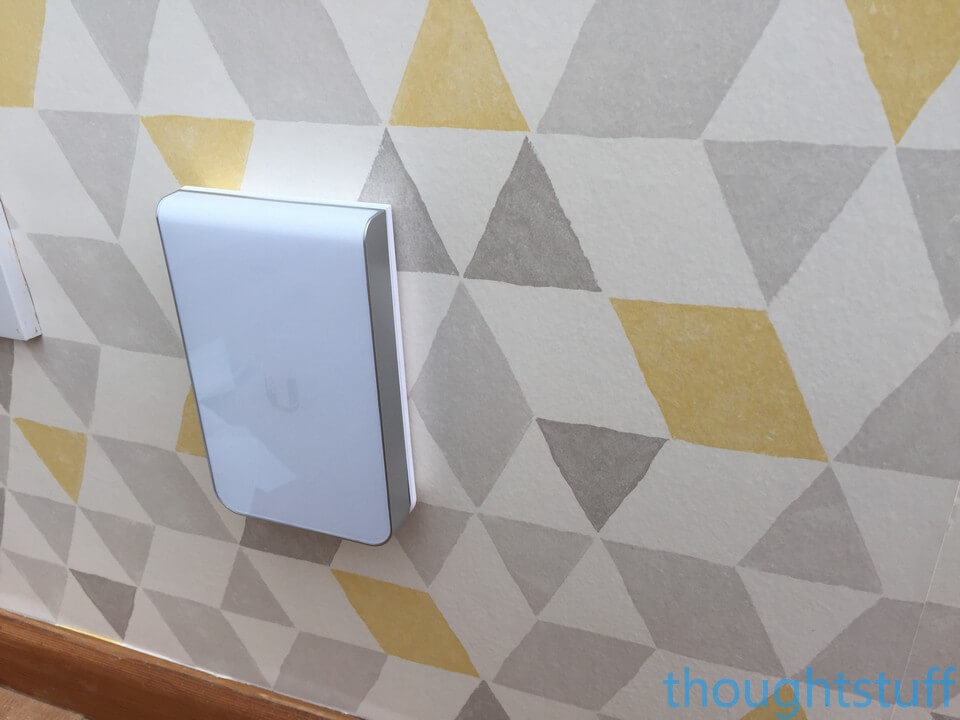
A couple of days later after the wall had been wallpapered, I then screwed in the mounting plate, plugged the cable into the unit and mounted it onto the wall:
Everything about the Unify software and how the unit actually works I’m going to cover in a separate blog post, but I wanted to spend some time going through the installation process for one of these units. If you already have a back-box you can mount this on then you won’t need to do any of this – watch the video for all the details – but if you don’t and you don’t want to install on then mounting it this way is also an option.
Thank you for this idea: I have just fitted an AC-IW into my church, and avoided using a backbox with the same method you have documented here.
An obvious idea, but I suspect I might have chiselled the backbox recess out of the brick wall before I thought of it!