


Stand out in search: add a bot to your search results! Part 2 – The Bot
This could be the next big thing in SEO – bot interactions from the search result page. Users can get their questions answered quickly or get common tasks done, without even needing to leave the search results and visit your site! The best thing is you don’t even need to be a programmer with my step-by-step guide to making your own search engine bot!
In this three part series we’re going to go through a worked example for me to create a bot for my website: thoughtstuff.co.uk. In Part 1 we created a knowledge base of questions which users can ask. In Part 2 we’ll create the bot which will take those questions and return answers. In Part 3 we’ll configure the bot to show alongside webpage results.
Step 1 – Create the Bot Service in Azure
Go to the Azure Port (portal.azure.com) and Register / Sign in. Click the green plus sign in the top left corner and in the search box type Bot Service. Choose the Bot Service application from the list, and click Create.

Provide a name for your Bot Service app, and either provide a name for a new Resource Group or choose an existing one. Choose a location which is closest to where the majority of your users are expected to be. Click Create to create the service.
Step 2 – Configure Permissions
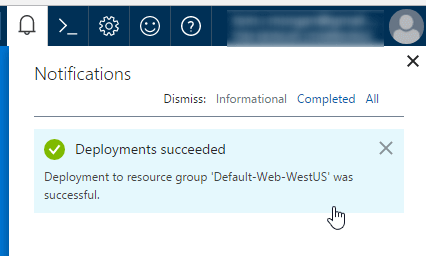
You will be redirected to the Dashboard homepage whilst the service is being create. Look for the notifications at the top to see when the service has finished being created. When it has, click the message to jump directly to the service (or find it in the All resources list)
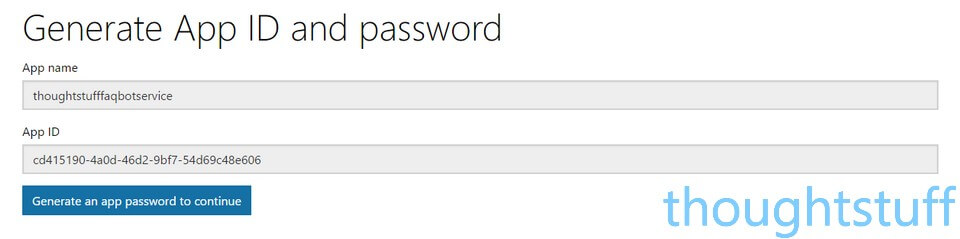
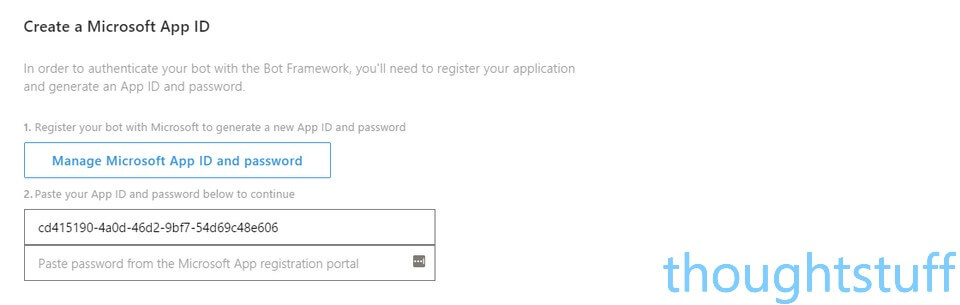
You’ll be taken to the setup page for the Bot Service.Firstly you’ll need to create a Microsoft App ID. Click the ‘Create Microsoft App ID and password’ button. You may have to verify your credentials but the name and App ID will be pre-populated for you, so all you need to do is click the ‘Generate an app password to continue’ button:
A pre-populated password will be shown on the screen. Copy this password to your clipboard. Click OK, then click ‘Finish and go back to Bot Framework’. Once you’re back at the Bot Service setup page, paste the password into the box:
Step 3 – Link to the Knowledge Base
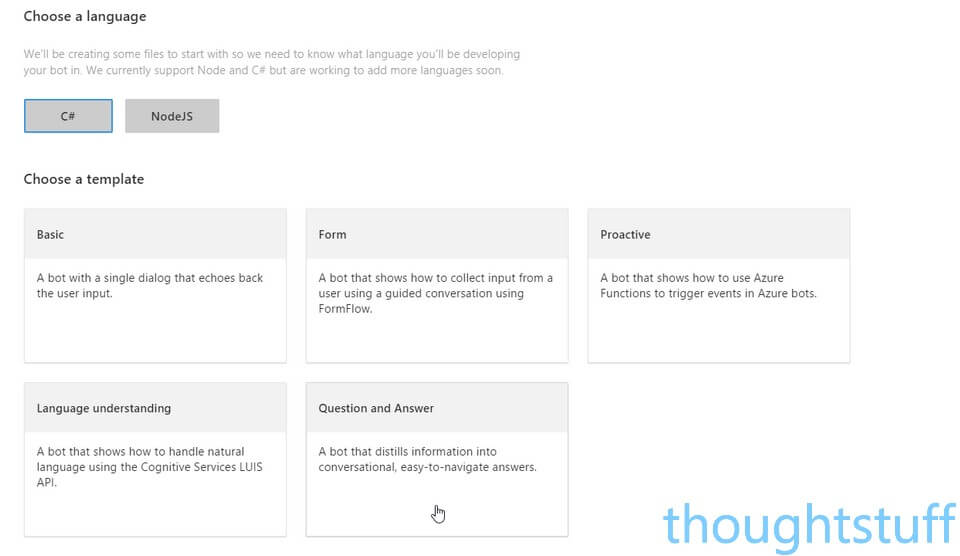
Unless your an experience bot developer you probably don’t want to have to write all the code to interact with the knowledge base you created in Part 1. Luckily there is a template wish does all this hard work.
Make sure that the C# button is selected, and then choose ‘Question and Answer’ from the template list:
Review the Terms of Use, Privacy Statement and Code of Conduct and if you’re happy, mark the checkbox accordingly and click ‘Create bot’.
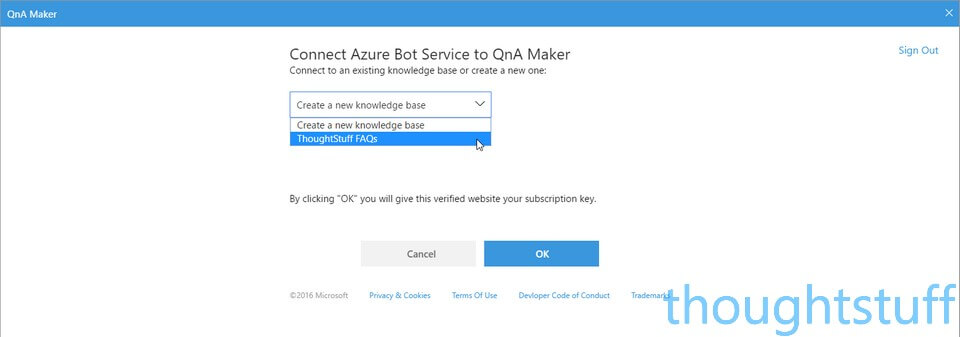
You’ll see a popup asking you select which knowledge base to use. Select the one created in Part 1 and click OK.
The provisioning process takes a few moments. You’ll know when it’s done because you’ll see a lot of code! You can safely ignore this though. Here is an example of what it looks like:
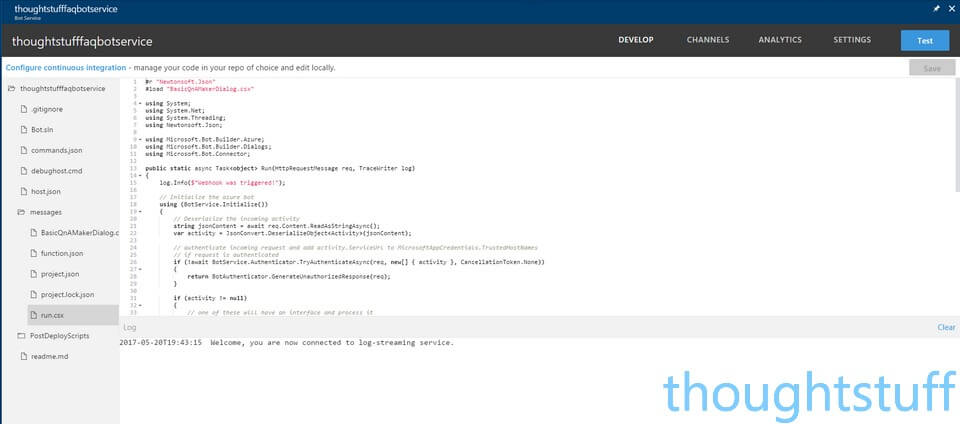
If you’re a developer, or are interested, then you can look through this to see what the bot is actually doing when it takes the user input and passes it to the QnA Maker service. If you’re not interested, then you can safely ignore it.
Step 4 – Test the Bot
Finally, it’s time to test out the bot. Click the blue Test button at the top right. A Chat window will slide out from the right-hand side. Try typing a sample question in there:
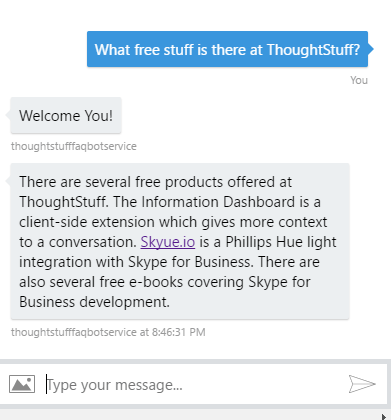
Notice that the question I asked wasn’t exactly the question I fed into the QnA Maker. That’s the power of the QnA Maker: it’s using advanced Artificial Intelligence to work out the meaning of the question and match it to the correct answer. The result is happier users getting their questions answered better!
We now have a working bot which can answer questions. In Part 3 we’ll complete the configuration so that the bot shows up in search results.
Now read:Â Stand out in search results â add a bot to Bing! Part 3 â Configuring for Search
Written by Tom Morgan
 Tom is a Microsoft Teams Platform developer and Microsoft MVP who has been blogging for over a decade. Find out more.
Related posts:
 Stand out in search results – add a bot to your search results! Part 1 – Knowledge Base
 Learn Skype Web SDK Day 13 : Starting a New IM Conversation
 Rewriting software is the single worst mistake you can make – apparently
Learn Skype Web SDK Day 11 : Searching for Users & Groups
Rewriting software is the single worst mistake you can make – apparently
Learn Skype Web SDK Day 11 : Searching for Users & Groups