Microsoft Healthcare Bot: Part 2 Installing the Healthcare Bot
In part 1 of this series, we introduced the Healthcare Bot, ran through some of the key features and costs, and showed you a working version of the bot. In this post, we’re going to cover how you can install the Healthcare Bot in your own tenant.
How to Get Started (5 mins)
To install the Microsoft Healthcare Bot in your tenant, visit the Azure Marketplace and search for Healthcare Bot (or use this direct link):
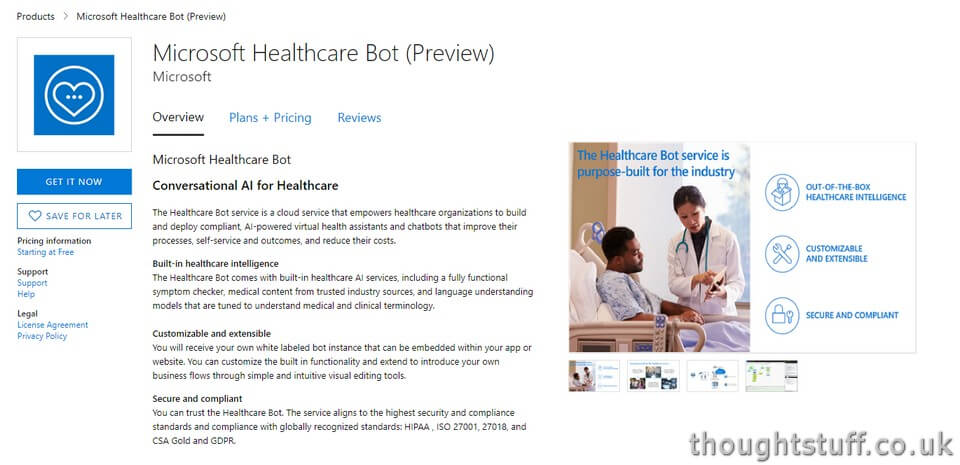
Click on Get It Now which will take you to your Azure instance and directly to the Healthcare Bot creation blade:
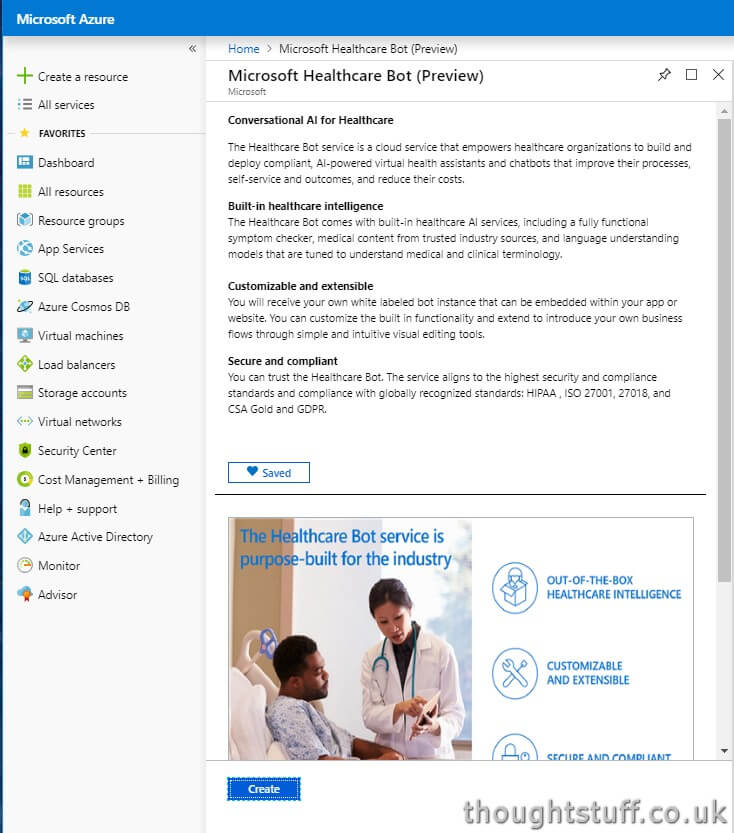
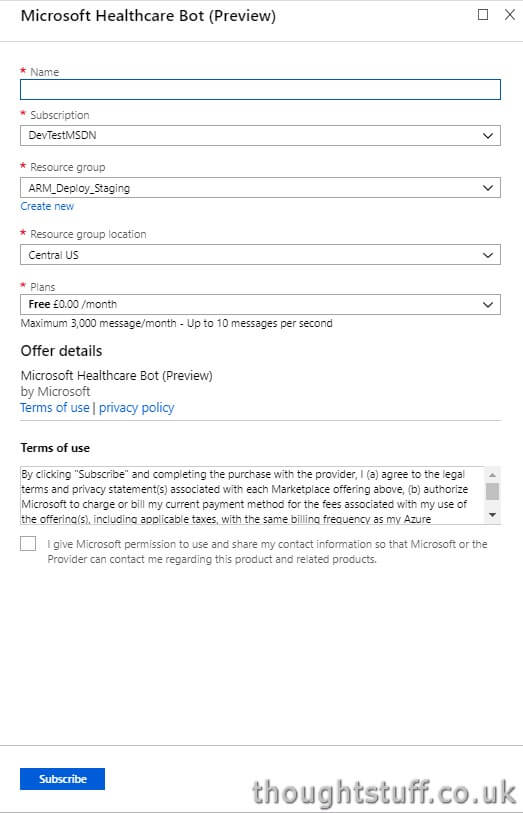
Click Create and fill in the required information, then click Subscribe:
Once the Bot has been installed, you will be taken to the Management Page for your newly created bot. We will cover proper configuring of the Healthcare Bot in a future post, but for now lets just get something working.
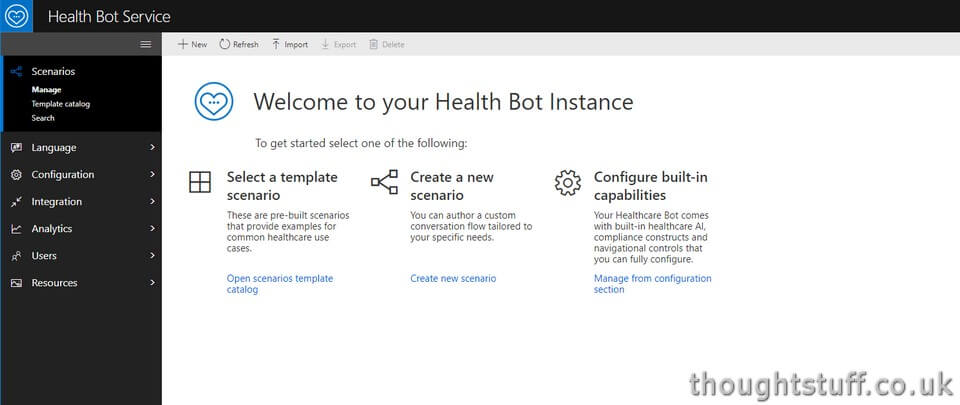
Click ‘Open scenarios template catalog’. The Healthcare Bot comes preconfigured with a number of pre-built workflows you can use straight away.
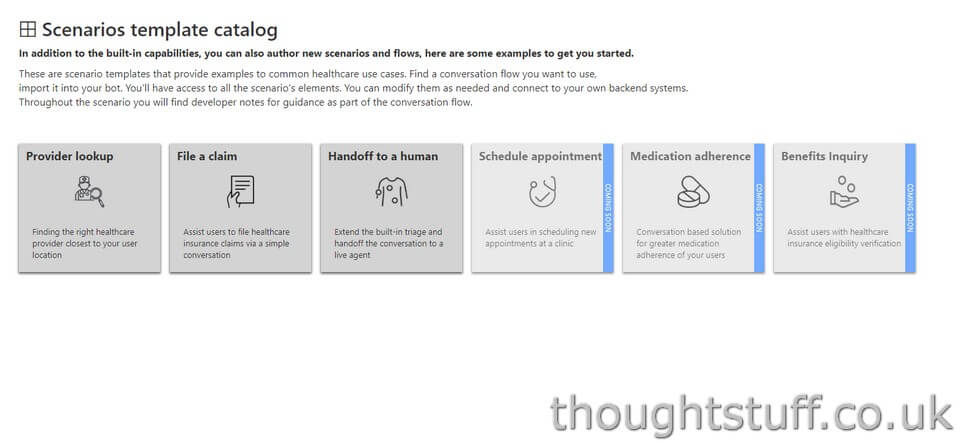
I’ve picked the ‘Handoff to a human’ scenario:
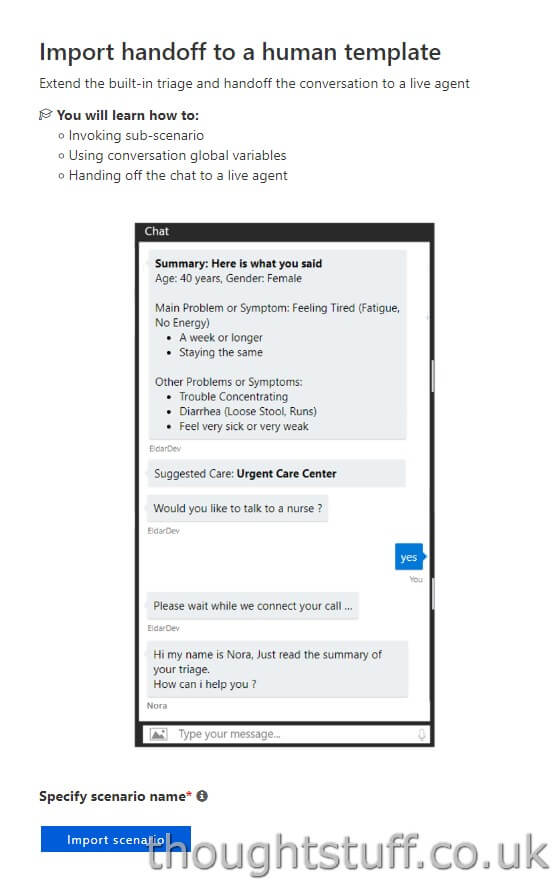
Provide a name for your scenario and click ‘Import scenario’.
Once the scenario has been created you’ll be taken to the Workflow Management section. If this looks really complicated, don’t worry about it! The template has already been set up for us. This is a powerful way to manage workflows, but we’re going to cover it in a future post. For now, click ‘Exit’ in the top-right, and then click OK.
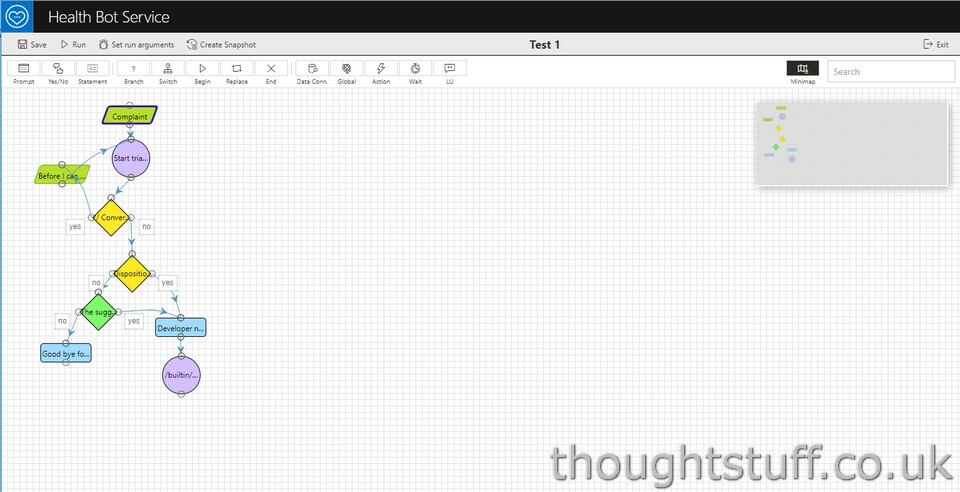
Testing it out
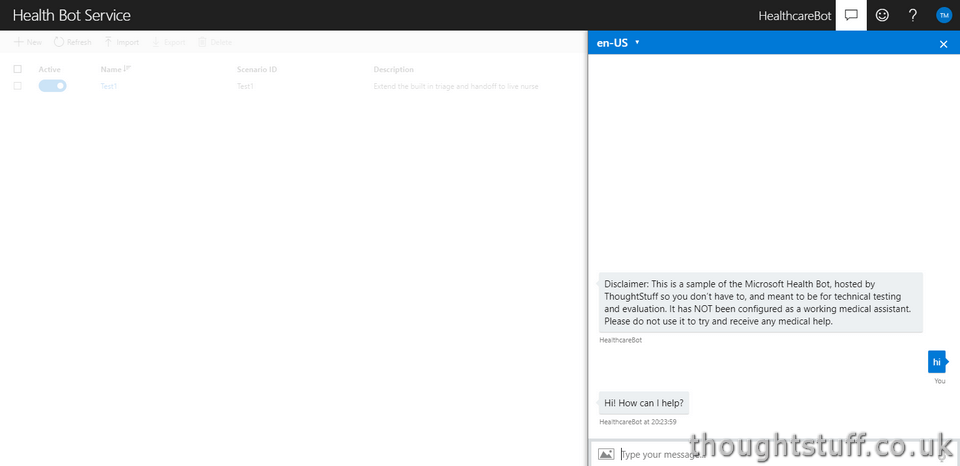
At the top-right corner of the Management Page you will see a chat icon. This lets you test out the bot from within the page before you deploy it anywhere.
Want to know more?
This is part 2 in a series of posts about the Microsoft Healthcare Bot. If you want to know more about how to configure the Healthcare Bot then look out for the next post, coming soon. You can subscribe to the newsletter and I’ll email you weekly with a summary of posts. Or there’s an RSS feed, YouTube channel, Podcast, Twitter… you get the idea.


