


Creating a Microsoft Teams IVR Bot Part 2 – The Sample Code
This is the first of a series of blog posts which are designed to introduce you to IVR Bots in Microsoft Teams. IVR Bots are bots that user can place audio calls to and communicate with via their keypads. They open up a whole new world of different app possibilities, and they’re pretty easy to build too!
IVR Bots are made possible with the release (in Preview) of the Calls & Meeting API, announced at Ignite 2018. There are a number of steps to follow in order to create and configure your bot, as well as some code to write to get it to do what you want it to. For links to all the posts in the series (and a video showing an IVR bot in action) have a look at the post: Creating a Microsoft Teams IVR Bot – a 5 part series
In part 1, we looked at Registration. In this section we’re going to cover the source code, publishing it and post-publish configuration steps.
The sample code I used to create the IVR in the video is here: https://github.com/tomorgan/TeamsIVRBotSample. I’m not going to go through every aspect of the code, because a lot of it is from the standard sample code provied for building bots.
The key takeaway is that writing code for an IVR bot (or any other audio-based bot) is very similar to writing for a text-based bot. All messages still funnel through the same /api/messages endpoint. (see OnIncomingRequestAsync).
From there, the message is handed off to the Calling SDK. This is a new SDK provided as part of the Calls & Meeting API which abstracts a lot of the hard work and provides you with nice event handlers to respond to. You can see that happening in the Bot class.
All of this is within the sample code. The actual code that runs the game is within the IncomingCallHandler, which is called from the Bot class.
Interesting things to look out for:
- It’s super easy to send audio into the call, by calling a single line: this.PlayNotificationPrompt(“yourwavefile.wav“)
- by calling this.SubscribeToTone() you can start being notified when user press keys on the keypad
Publishing
Your bot has a setting (which we ignored when we created it) which tells it where its code is. That means that in order to run, your code needs to be hosted in a publicly-accessible location. We’re going to cover two different ways of doing this – publishing to Azure, or debugging locally using a HTTP tunnel.
We’ll do the Azure one first because then if you decide to move to debugging locally (for instance to build out the sample into a more useful application), all the links for media files will still work OK.
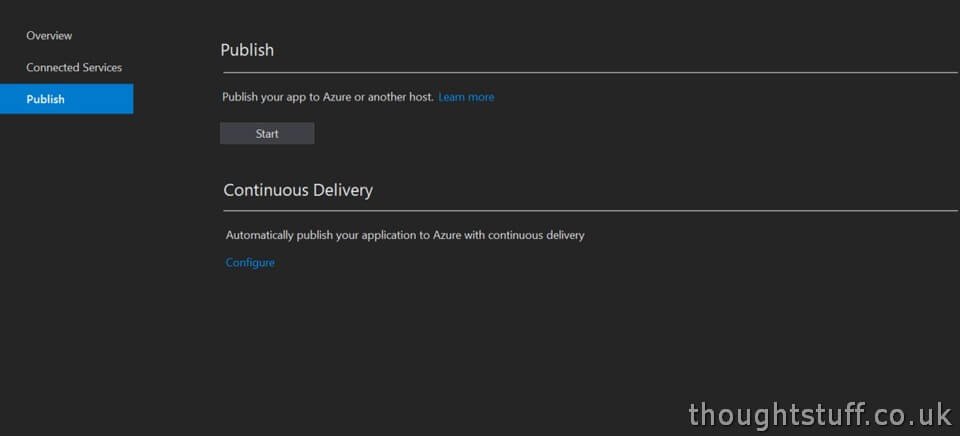
Right-click the Project and choose Publish. Click Start to create a new publishing profile:
Once published, Visual Studio will pop open the website URL. However, our code isn’t for a website, it’s for an IVR and we don’t have any website code to show. That means you’ll get an error loading the root of your URL. However, you can test that the publish is successful by changing the URL to one of the audio files – SimpleIVRWelcome.wav for instance and making sure it loads OK.
All our Bot IVR code is now published in Azure. The next step is to tell the Azure Bot Service where it is.
Post-Publish Bot Configuration
Go back to the Bot Channel Registration resource created in Azure, and choose Channels from the menu. Add the Microsoft Teams channel if it’s not there already, then in the configuration options, choose the Calling section. Click the checkbox to Enable Calling. You’ll notice you have to enter a Webhook for calling. This is the URL that the Teams will invoke when someone calls your bot. This is where you want to specify your newly published code. The format of the URL should be:
https://PUBLISHADDRESS.azurewebsites.net/callback/calling
Click Save to commit your changes.
You also need to update your code with the publish address. The reason for this is that the Bot code needs to know what it’s callback URLs will be, and it needs to tell the Teams services that URL also.
In the appsettings.json file, located in the root of the sample project, find the BotBaseUrl key and update the value with the new publish URL. Be sure to use an https URL otherwise it won’t work. (You don’t need any suffix to this, so an example would be: https://PUBLISHADDRESS.azurewebsites.net)
Save the file and then re-publish your app again to upload the new setting.
Written by Tom Morgan
 Tom is a Microsoft Teams Platform developer and Microsoft MVP who has been blogging for over a decade. Find out more.
Related posts:
 Microsoft announces Public Preview of Call & Online Meetings API for Teams
Slides from “15 mins of code – Creating a Teams IVR Bot”
Creating a Microsoft Teams IVR Bot Part 1 – Registration and Security
Creating a Microsoft Teams IVR Bot – a 5 part series
Developing with Microsoft Teams: Creating Static Tabs
Microsoft announces Public Preview of Call & Online Meetings API for Teams
Slides from “15 mins of code – Creating a Teams IVR Bot”
Creating a Microsoft Teams IVR Bot Part 1 – Registration and Security
Creating a Microsoft Teams IVR Bot – a 5 part series
Developing with Microsoft Teams: Creating Static Tabs