


Creating a Microsoft Teams IVR Bot Part 3 – The Teams App
This is the first of a series of blog posts which are designed to introduce you to IVR Bots in Microsoft Teams. IVR Bots are bots that user can place audio calls to and communicate with via their keypads. They open up a whole new world of different app possibilities, and they’re pretty easy to build too!
IVR Bots are made possible with the release (in Preview) of the Calls & Meeting API, announced at Ignite 2018. There are a number of steps to follow in order to create and configure your bot, as well as some code to write to get it to do what you want it to. For links to all the posts in the series (and a video showing an IVR bot in action) have a look at the post: Creating a Microsoft Teams IVR Bot – a 5 part series
As we left things in Part 2, our bot was functionally complete, but users couldn’t actually access it. That’s because the default delivery mechanism for bots in Teams is via a Teams App.
Creating a New App
The easiest way to create a new Teams App is using App Studio. I cover how to install App Studio in my video walkthough, so this post assumes you’ve already done that.
Open the App Studio app and choose the Manifest editor tab. Unless you’ve already been creating apps, you’ll see the default dashboard, with buttons to either create or import an app:
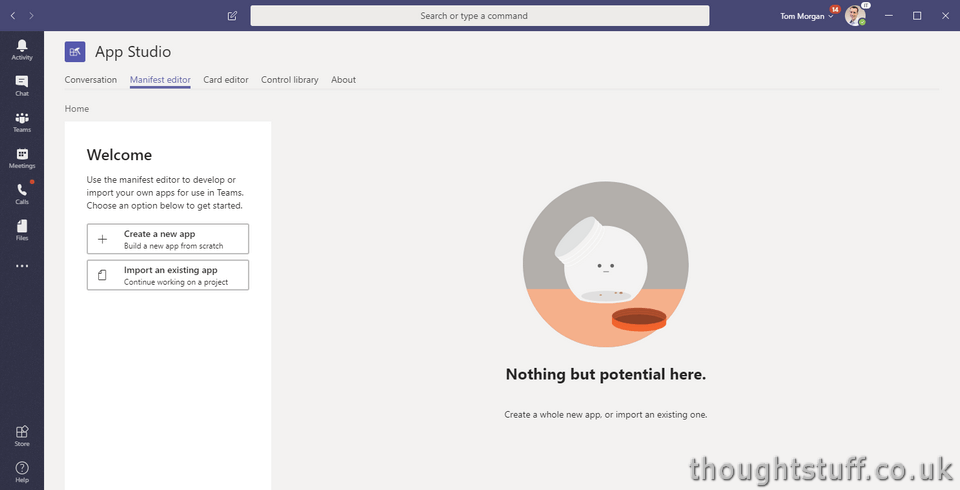
Click the ‘Create a new app’ button. We’re going to create an application for our IVR Bot. Although our IVR Bot won’t really have any of the capabilities you might expect from an app (there’s no tabs to display, no connectors, you can’t even chat with it), in the real world a bot that includes IVR functionality might also have other capabilities, which can be added in here.
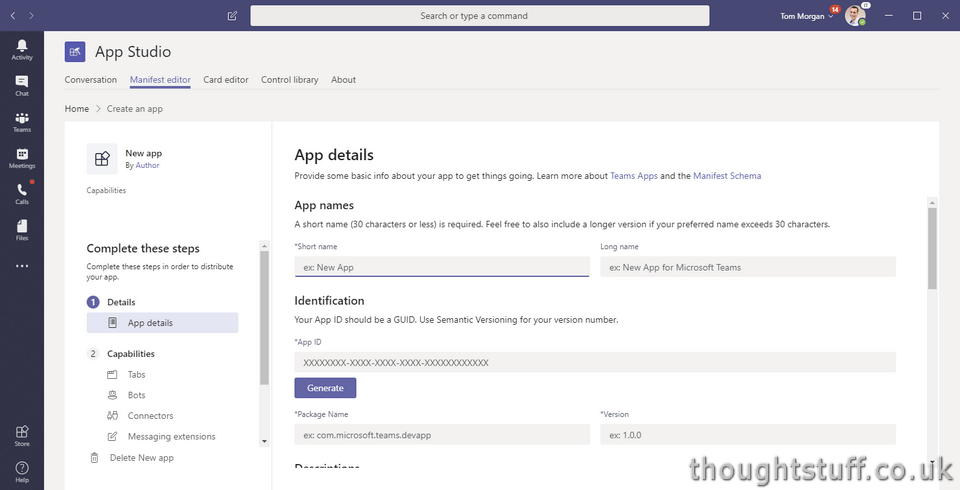
Fill out the name, long name, package name and version information. For the App ID, make sure you use the same App ID that was generated and used when registering your IVR Bot previously, and that’s in your code’s appsetting.json file. Also fill out the descriptions, developer information, and app URLs. (because we’re not going to be submitting our code to the App Store, you can use fake URLs here as long as they’re https). Finally, supply some images which will be used to represent your app within Teams.
Once you’ve filled out the App details, it’s time to move onto the Capabilities. From the menu on the left, click the Bots menu item, then click Set up.
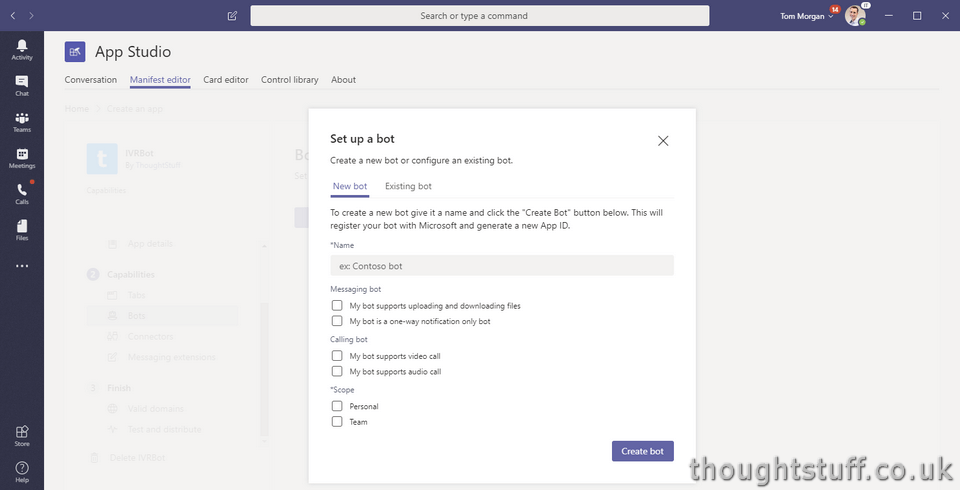
Make sure you choose the Existing bot tab before you start filling out information, otherwise you will repeat the Bot Registration process done previously.
Fill in the Name and App ID using the same details you used when creating the Bot Registration (if you can’t remember them, navigate to https://apps.dev.microsoft.com to check)
Check the ‘My bot supports audio call’ option, and for this sample, choose the Personal scope.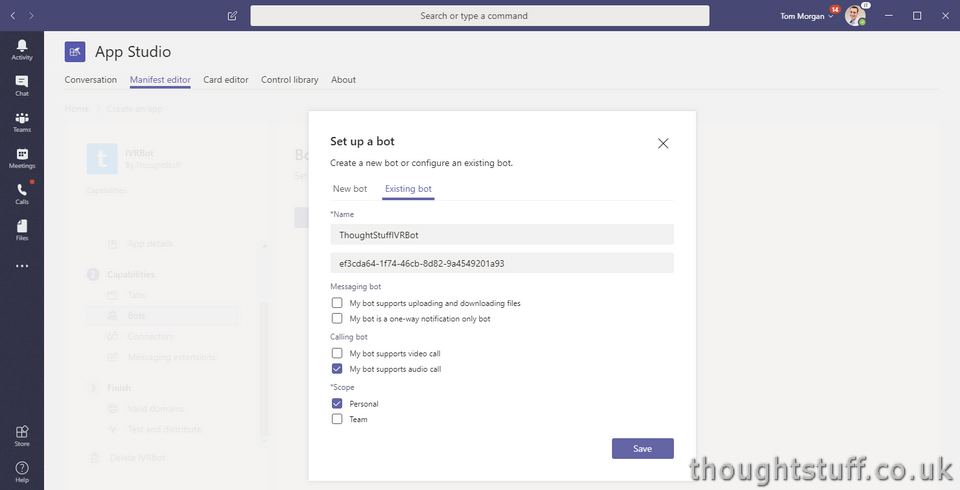
Click Save, then under the third section (Finish), click “Test and distribute”. From here you can download your app manifest, or install it directly into Teams.
You may hit a problem installing the app, or adding it as a custom app once you’ve downloaded it, seeing this –
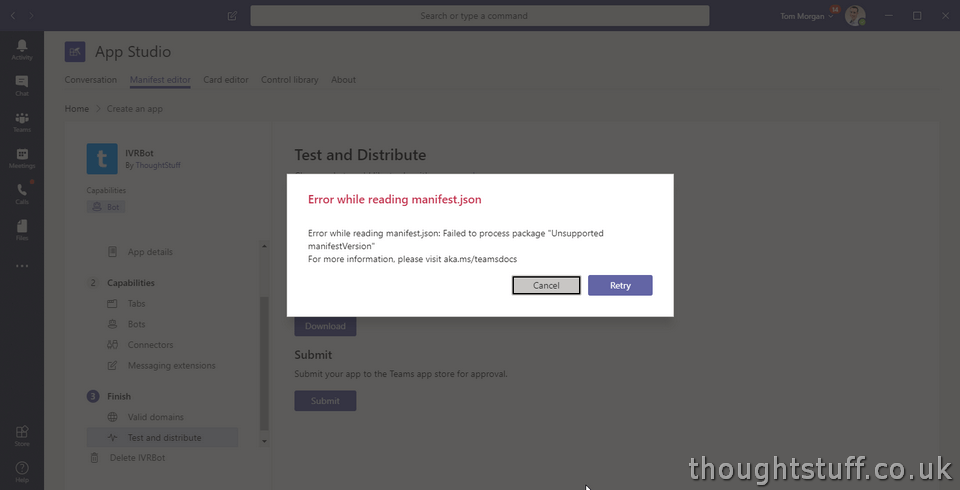
That’s because App Studio/Teams hasn’t yet evolved to fully cope with installing apps that have the new Calling API features. To work around this, go back to your Bot in the Manifest Editor and uncheck “My bot supports audio call” and then return to Test and Distribute and download the manifest file. Unzip it, then open manifest.json in a text editor. Look for the bots section, and you’ll see various entries, such as “supportsFiles”: false, and “isNotificationOnly”: false. Add a comma, then insert a new entry: “supportsCalling“: true
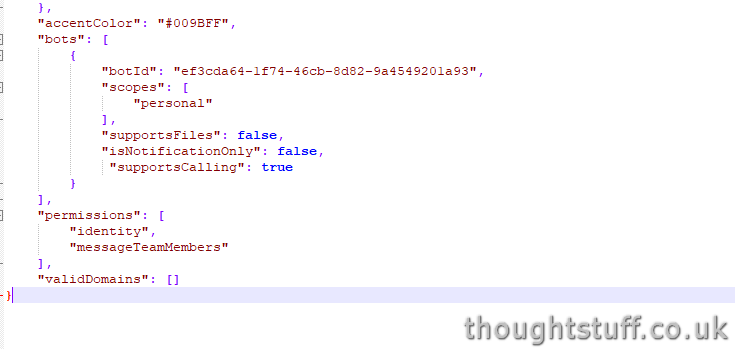
Save the file, rezip it, and then side-load it via the Upload a Custom App section of the App Store. You should find that it installs fine.
Testing the new App
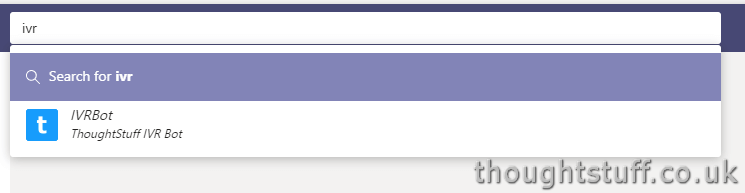
You can test that your new app has been installed by searching for using the command bar and typing either its short or long name. It should show up with its image in the search results:
The first time you do this, you’ll be prompted to install the app:
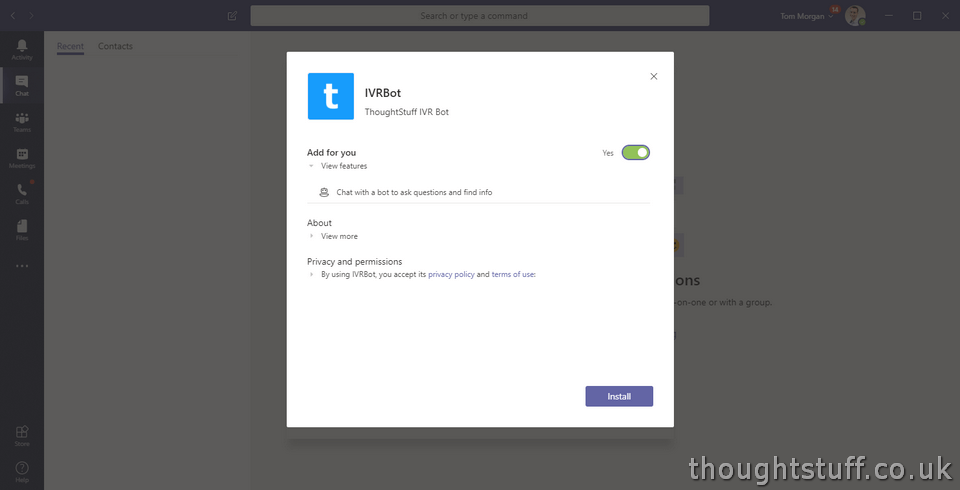
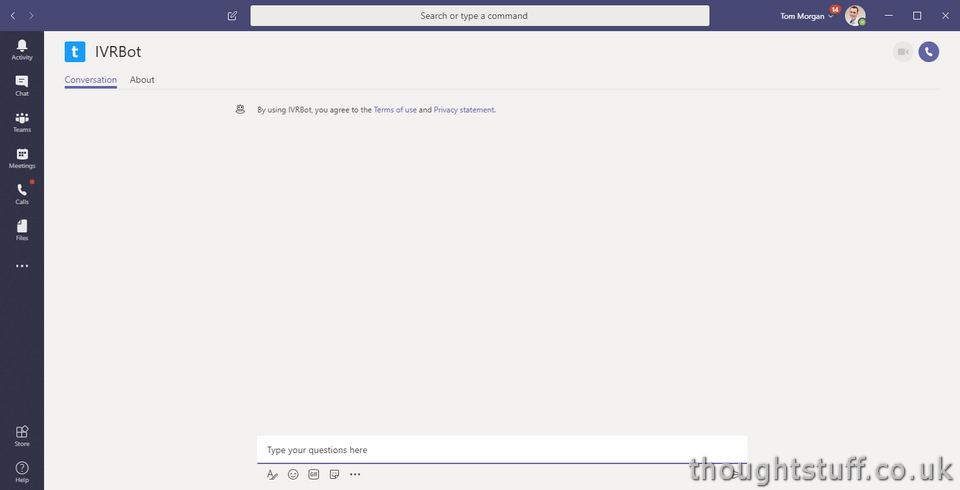
Once you’ve done that, you’ll be taken to a new conversation with the bot. Our sample code doesn’t actually include any chat capabilities, so there’s not much point in typing anything. But…(and this is different from other bots you’ve created), look at the top-right. You’ll see the calling button is enabled for this bot. That means we can call our bot!
Written by Tom Morgan
 Tom is a Microsoft Teams Platform developer and Microsoft MVP who has been blogging for over a decade. Find out more.
Related posts:
 Weekly Update 8 February 2019: Creating a Microsoft Teams IVR Bot – Intro, Part 1-2, Upcoming Speaking Events
 Creating a Microsoft Teams IVR Bot Part 1 – Registration and Security
Creating a Microsoft Teams IVR Bot Part 2 – The Sample Code
Creating a Microsoft Teams IVR Bot – a 5 part series
Slides from “15 mins of code – Creating a Teams IVR Bot”
Creating a Microsoft Teams IVR Bot Part 1 – Registration and Security
Creating a Microsoft Teams IVR Bot Part 2 – The Sample Code
Creating a Microsoft Teams IVR Bot – a 5 part series
Slides from “15 mins of code – Creating a Teams IVR Bot”