


How to: use the new Visual Studio Extension for Microsoft Teams Platform Development
At Build 2020, Microsoft announced a new Microsoft Teams Toolkit for Visual Studio and Visual Studio Code, to make it easier to get started building apps for Microsoft Teams. If you’ve watched or listened to my Weekly Update from June 14th then you will already have heard me talk about this, but I wanted to go into more detail about exactly to get started using it.
Here’s how to install and use the toolkit. I’ve focused on Visual Studio Code, because it’s available right now (the extension for Visual Studio is expected shortly)
Download and Install
First of all, download the extension from the Visual Studio Marketplace, which will install it to Visual Studio Code. It’s as easy as that!

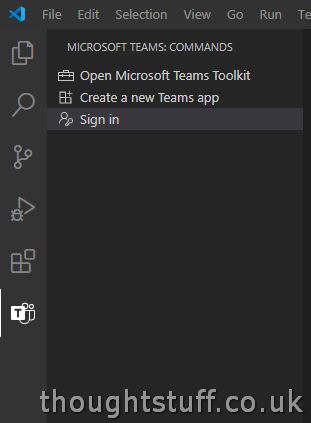
You’ll know when it’s installed OK because you’ll see a new Teams icon at the bottom of the right-hand rail in VS Code. This means you’re ready to go!
Help & Docs
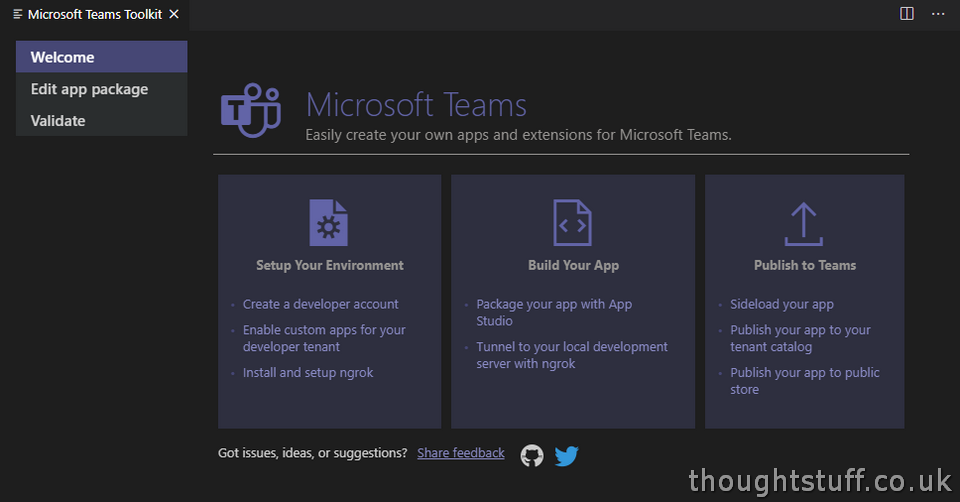
Right away, you can see that there are a number of links to help you get started, if you’re completely new to writing apps for Microsoft Teams. These steps help remove some of the common blockers developers can face, such as not having custom apps enabled in your tenant, or setting up ngrok. It’s great to see these onboarding steps made so prominent.
Let’s Build an App
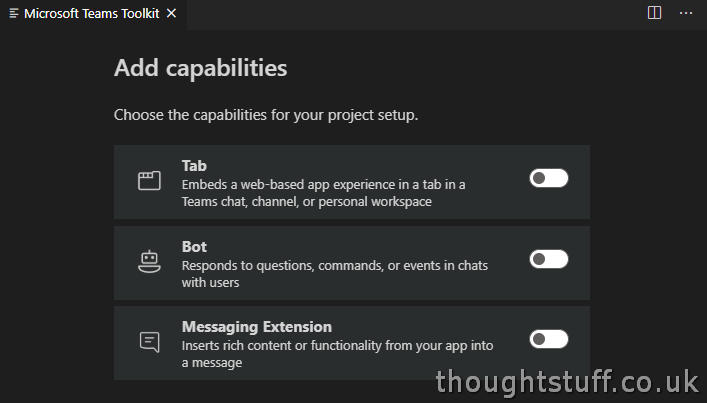
Docs are great, but let’s build something! Click the Teams icon again, and choose Create a new Teams App. Choose a great name, and pick a location on disk to store your app. Now, simply choose what you want your app to do by toggling different capabilities:
I’m going to choose a Tab for this example. Depending on what you choose, different components of scaffolding code will be added to your project and you may then have additional options. For example, because I chose a Tab, I’m then asked whether I’d like to build a Personal or Group tab. (I’m going to choose Personal)
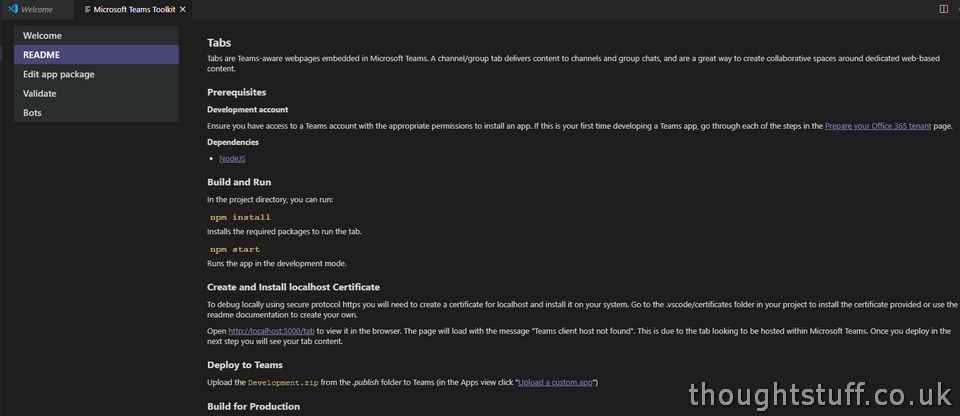
Once the wizard has completed, you’ll see a Readme page, describing what to do next. Because we’re going to be running our code locally, but interacting with it via Teams there are some necessary setup steps, but the Readme tells you exactly what to do…
First, we run npm install and npm start. (this is where you find out if you have node installed or not. If you don’t, it’s easy to add)
Next, we install the certificate that’s helpfully been provided as part of the solution (follow the instructions in the .vscode/Certificates/Certificated.md file), and verify that our code can run in a browser window OK. This is a good validation step to check everything else is working before we move on to embed into Teams.
One gotcha I noticed here: The link in the documentation is http://localhost:3000/tab but you actually want to go to https://localhost:3000/tab otherwise you’ll see a Connection Refused error. What you want to see is this:
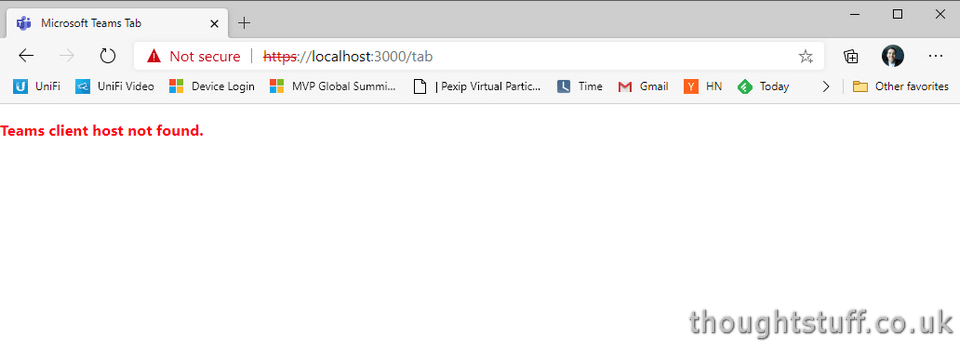
This is actually a GOOD thing!
Add it to Teams
Now that our sample app is up and running, it’s time to add it to Teams. Right now it can’t really do anything because it’s designed to run within Teams, and we’re just loading it in a web browser.
Going back to the Teams icon, click Sign-In and provide your credentials to sign into Teams. You’ll see a permission popup. Doing to this means that the Teams toolkit can provide a slick App Upload experience within VS Code without you needing to use App Studio!
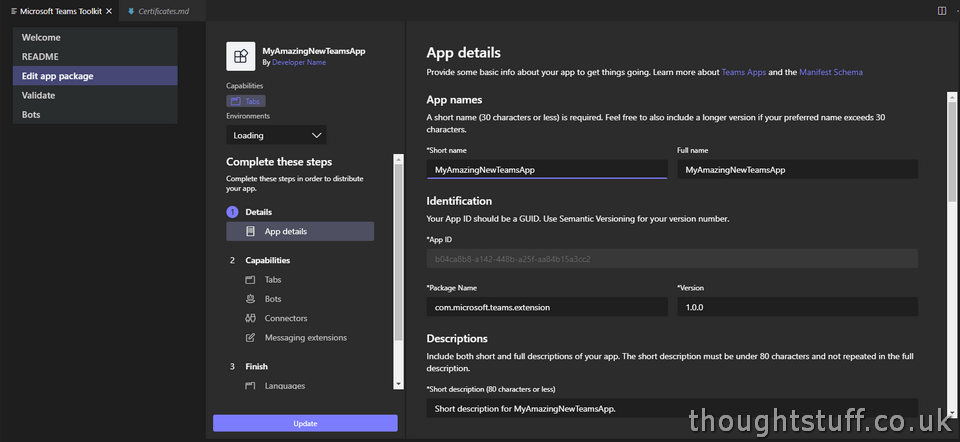
Notice how everything has been filled in for me, from the name, version, even the capabilities based on the options I chose at the start. This is great if I want to make changes later, but for now I’m happy with the default selection as I’m just testing everything out.
A manifest package has already been build, and can be found in /.publish.
I’m going to side-load this app in Teams. Because it’s configured to look at my localhost still, it doesn’t make sense for me to give it to anyone else at this stage – right now we just want to get something working.
Gotcha!
At the time of writing this, I hit a snag here, which I want to walk through, in case you get the same, because it’s not covered in the Readme.

The actual error here is:Â Error while reading manifest.json: Invalid value(s) specified for validDomains[0]: “localhost:3000”
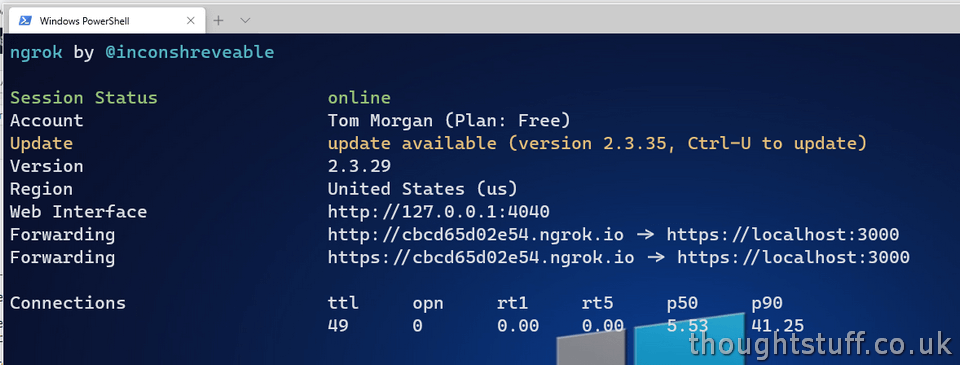
The problem is that “localhost” isn’t permitted in an app manifest. Easily fixed though, using ngrok. I’ve blogged about how to use ngrok previously, but the specific command I used here in order to provide an external URL that routed to https://localhost:3000 is:
This provides a new URL I can use instead:
I then went to the App Manifest, into Tabs, edited the Personal Tab entry and supplied the new URL (don’t forget to include the /tab on the end!), before installing again.
[This gotcha actually means that I could have skipped the step about installing a local certificate, instead just running the code at http://localhost:3000 and configuring ngrok to serve a HTTPS page to that URL instead. However, because I’d already done it, I decided to just leave it as is.]
This time, success:
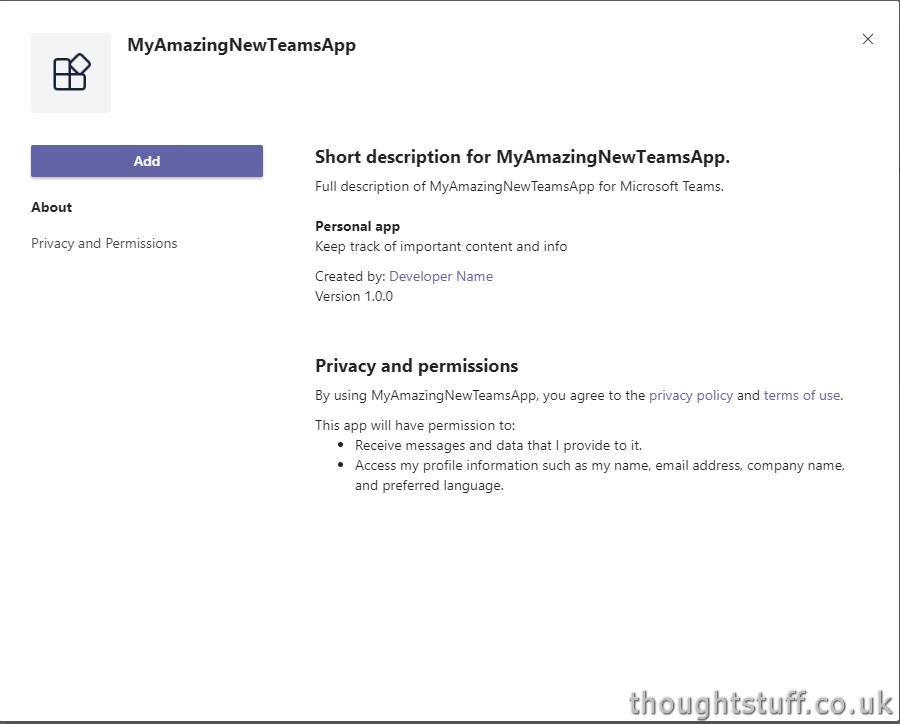
And, once the application has installed, this is the final output:
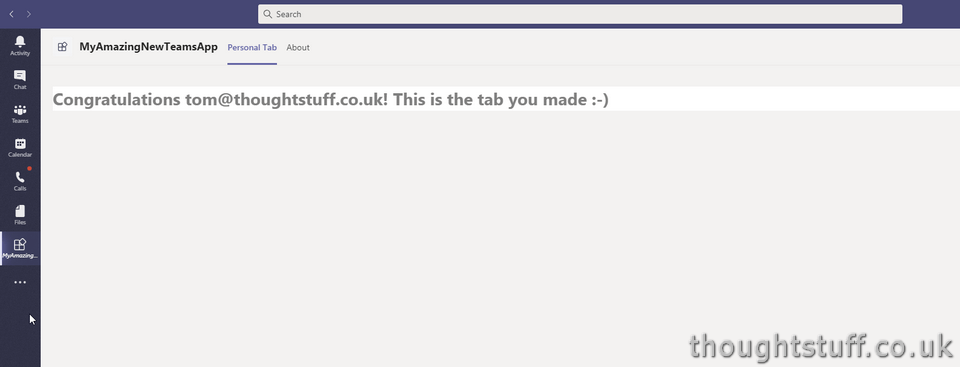
The actual code that produces this is (as you might imagine) quite small. This is meant as scaffolding – all the vital parts to start you building your Teams tab app and nothing else:
1 2 3 4 5 6 7 8 9 10 11 12 13 14 15 | let userName = Object.keys(this.state.context).length > 0 ? this.state.context['upn'] : ""; return ( <div> <h1>Congratulations {userName}! This is the tab you made :-)</h1> </div> ); |
I was interested though, to see what else was available in the this.state.context array, so I printed it out:

Available to use without any extra work are:
- appSessionId
- chatId
- entityId
- hostClientType
- isFullScreen
- jsonTabUrl
- locale
- loginHint
- ringId
- sessionId
- subEntityId
- teamSiteDomain
- teamSitePath
- teamSiteUrl
- tenantSKU
- theme
- tid
- upn
- userLicenseType
- userObjectId
- userPrincipalName
For more information about what each of these are, check out the Teams JS SDK documentation. Amusingly, it points out that ‘upn’ is actually deprecated and shouldn’t be used… 😉
Wrap-up
That’s it. Now, you have all the scaffolding in place you need, and you’re ready to start building your new Teams app. I like that these templates don’t add to much extra code that you don’t need (in the way that some functional samples or demo do) but provide the minimum set of pieces necessary to start building something.
By the way, have a look in the .publish folder at Development.env and also the README.md file there. It’s possible to set up different environments with different URLs and other settings, enabling you to develop locally and the publish with a production set of values.
Written by Tom Morgan
 Tom is a Microsoft Teams Platform developer and Microsoft MVP who has been blogging for over a decade. Find out more.
Related posts:
 Weekly Update 14 June 2020: Microsoft Teams Visual Studio Extensions, Identity Protection API Changes, Commsverse
 What is App Studio in Microsoft Teams and why do I care?
Weekly Update 31 August 2019: new Teams App Templates, Microsoft Ignite Community Reporter, Ignite Session Catalog, Visual Studio YouTube Channel
Creating a Microsoft Teams IVR Bot Part 4 – Debugging when things go wrong
Run your app in Teams, but debug locally using ngrok: here’s how
What is App Studio in Microsoft Teams and why do I care?
Weekly Update 31 August 2019: new Teams App Templates, Microsoft Ignite Community Reporter, Ignite Session Catalog, Visual Studio YouTube Channel
Creating a Microsoft Teams IVR Bot Part 4 – Debugging when things go wrong
Run your app in Teams, but debug locally using ngrok: here’s how