Walkthrough: how to create an application built on Project Oakdale
Project Oakdale is (current) name for the low-code data platform technology which is built into Microsoft Teams and which can be utilised by Power Apps. It’s scalable, secure and included with Microsoft Teams. It was first announced at Microsoft Inspire 2020 (when it was briefly called DataFlex).
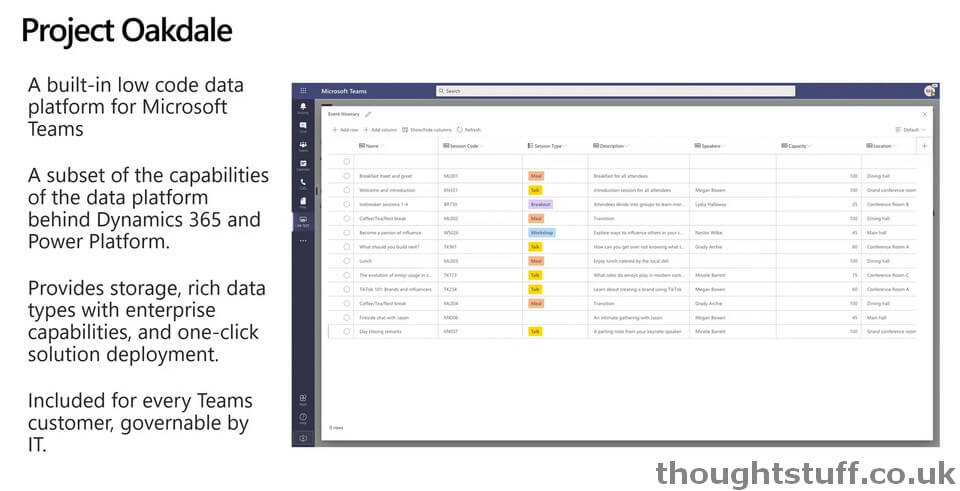
This walkthrough is taken from the session OD241 - Build custom apps to drive productivity in the remote work world with PowerApps and Teams delivered at Microsoft Ignite. It’s the first time that I’ve seen Project Oakdale used to create something:
Apps are authored in the Power Apps (Preview) Teams App:
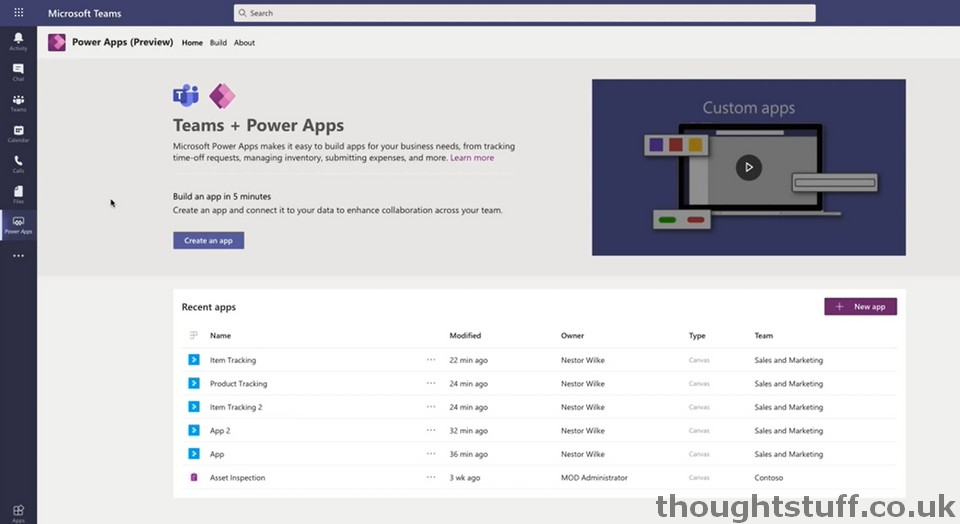
You can create a new app, choose the Team to install the app to, and provide it with a name.
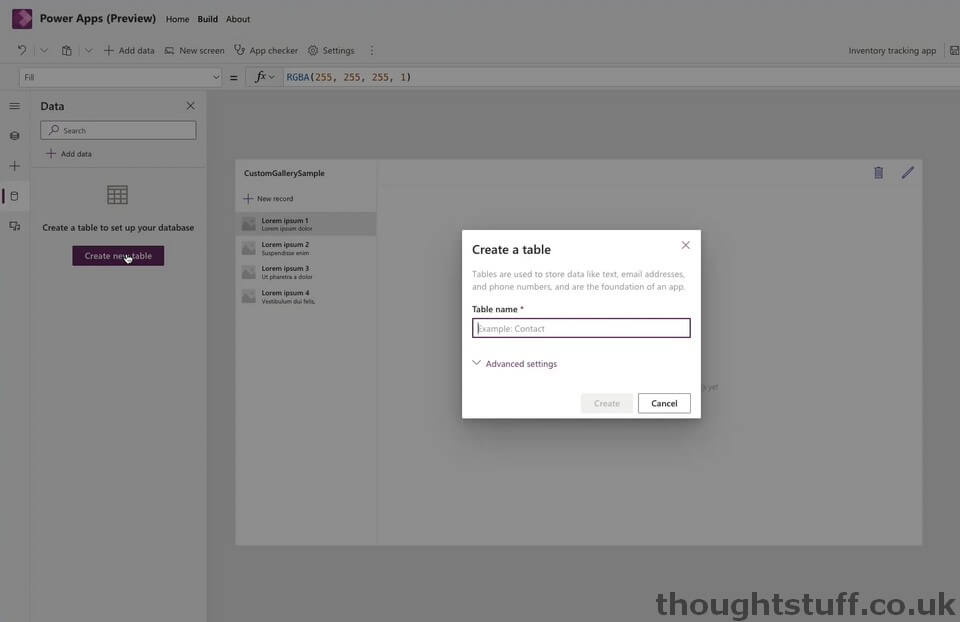
Now, the interesting part. Click Create new table and provide a table name:
You can then add rows and columns to your table:
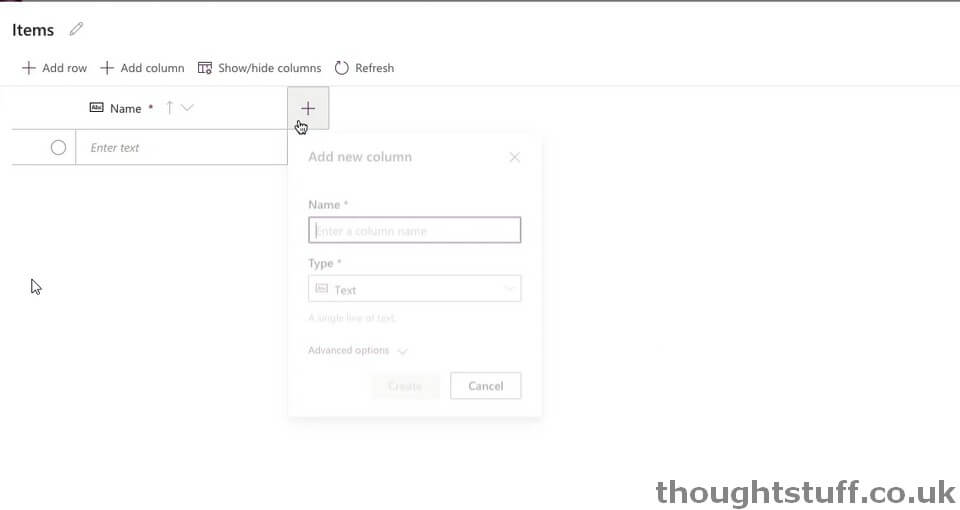
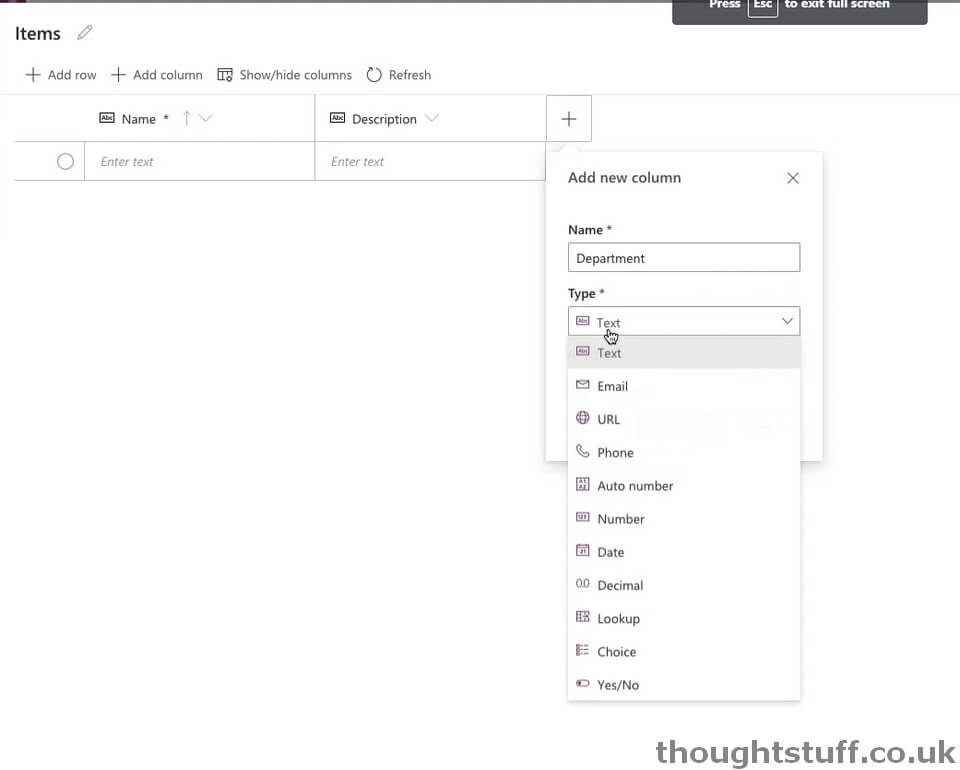
It’s very easy to add different columns and select different types for each one. Here’s the list:
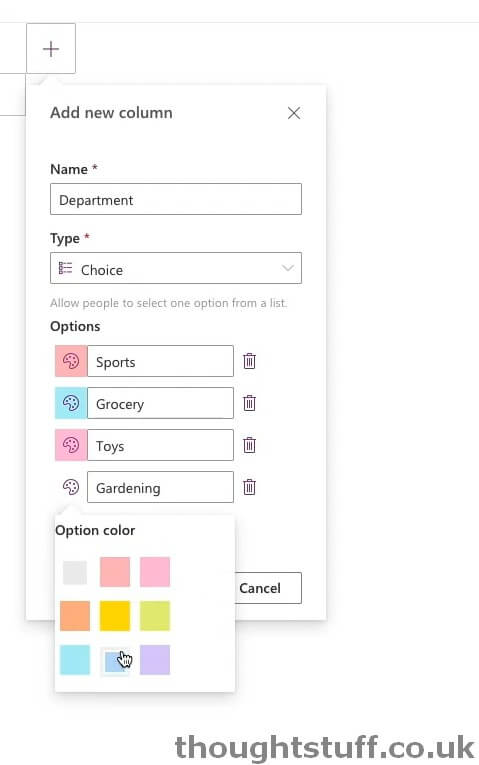
There’s an interesting/pleasing blend of data and UI in the ability to specify that a column has options, choose those options and also specify their name and colour:
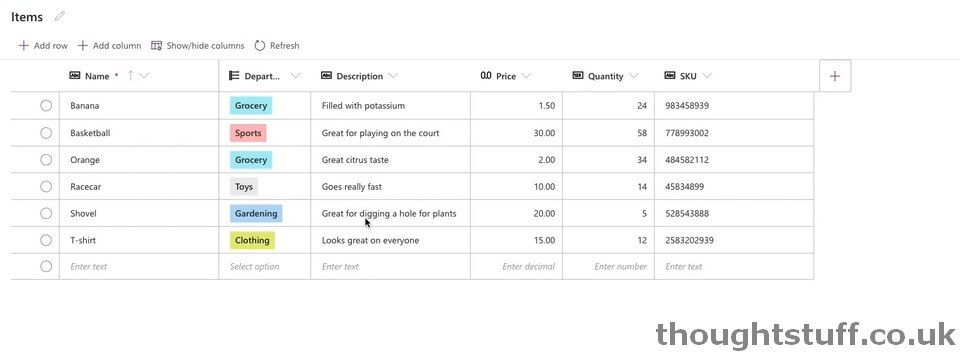
You can also enter data via this grid.
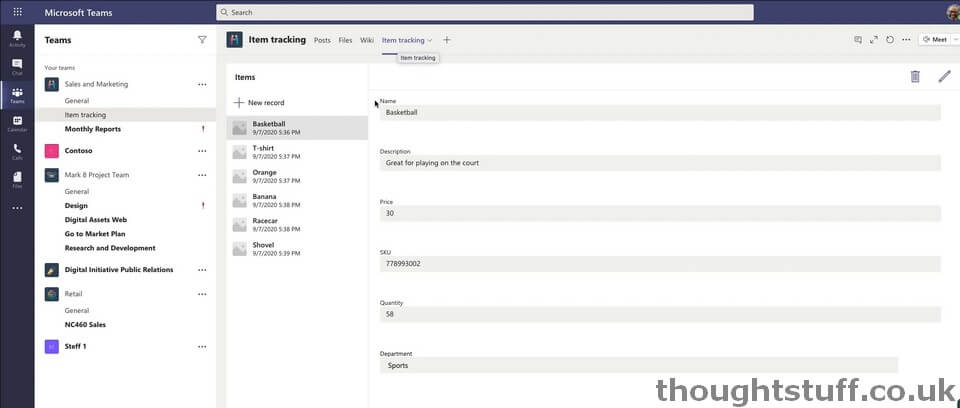
Once you’ve entered the data, Power Apps will auto-generate a simple CRUD interface for you. Depending on your needs, this might actually be good enough for you – it’s a simple list/detail interface with edit and delete buttons:
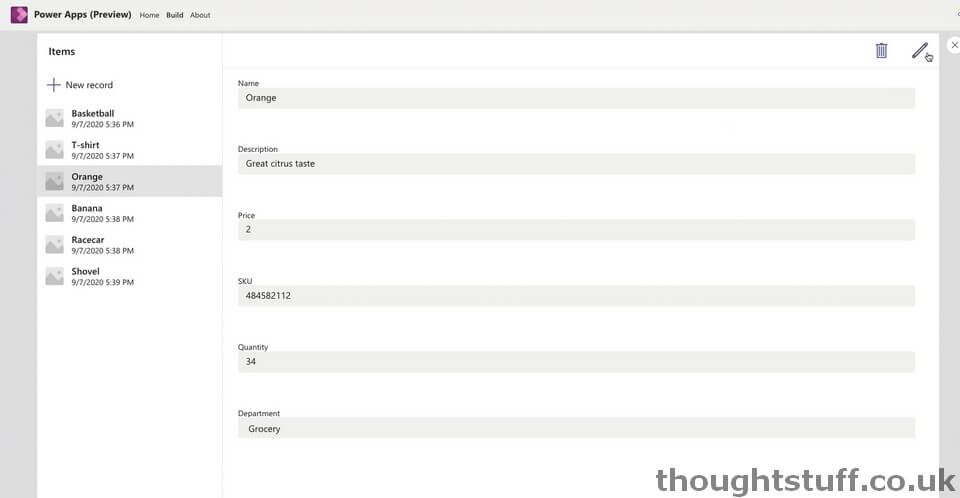
Obviously, you could change this and make it look nicer, add some rules, or just use it as a starting point for something more complicated, but it’s nice that it’s a fully working application, and if you wanted to you could click the Publish to Teams button (top-right) and send the application straight to Teams:
